DIY laser leveling is now easier than ever! Whether you’re hanging shelves, laying tiles, or building a fence, a laser level makes your projects look top-notch. It saves time and materials, making hard tasks a breeze. This guide will show you how to use laser levels for clean, straight results every time.
Key Takeaways
- DIY laser leveling boosts accuracy in home improvement projects.
- Laser levels cut guesswork when installing cabinets or flooring.
- Mastering setup steps avoids costly mistakes in construction projects.
- Simple maintenance keeps laser tools working for years.
- Follow clear techniques to ensure perfectly aligned walls or walls.
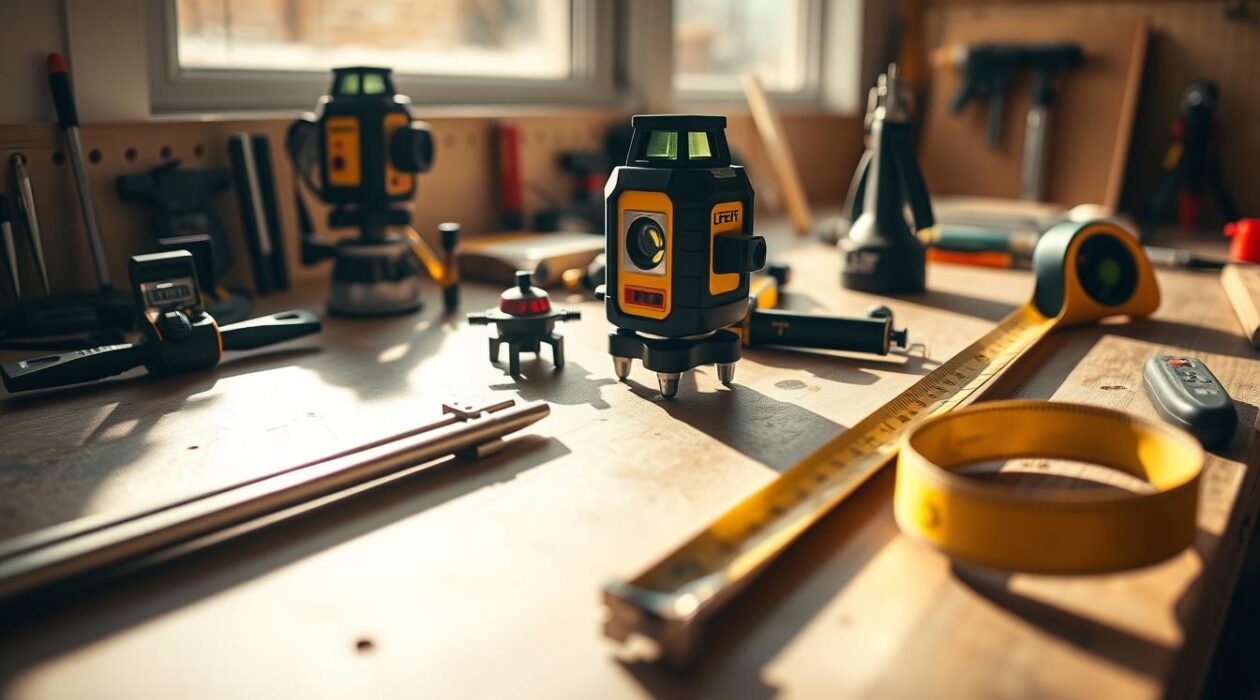
Understanding Laser Levels
Laser levels are tools that use light beams for precise measurements. They project lines or points, helping with straight edges and alignment. They make tasks easier, from home repairs to big construction projects.
What is a Laser Level?
A laser level sends out a visible laser beam to mark reference lines. It’s different from old methods because it uses advanced optics. It can project lines horizontally, vertically, or diagonally.
Tools with self-leveling adjust automatically for flat surfaces. They’re small, battery-powered, and have features like crosshairs or rotating heads for more guidance.
Benefits of Using a Laser Level
Here’s why many people use these tools:
- Speed: They work 3x faster than manual methods.
- Accuracy: They reduce errors to 0.001% over 10 meters.
- Adaptability: They work indoors, outdoors, and up to 30 meters away.
- Cost savings: They save 40% of materials by making precise cuts.
For example, hanging a shelf takes just minutes with a laser level. Framing a wall aligns plumb lines in seconds. These tools are key for anyone who wants to save time and be reliable.
Choosing the Right Laser Level for Your Project
Finding the perfect construction laser level begins with understanding your project’s needs. A good tool is key for accuracy in tasks like building walls, installing shelves, or laying floors. Here’s how to find the right one:
- Project Scale: For small home fixes, choose compact models. Big construction sites need long-range tools.
- Budget: Basic models are under $100. But top-notch construction laser level systems can cost over $500.
- Features: Look for self-leveling, slope features, or remote controls for easier setup.
A construction laser level that fits your project’s needs saves time and cuts down on mistakes. First, list what’s most important to you. Then, compare it to the specs in the table. The right tool keeps your projects on schedule.
Essential Techniques for Using a Laser Level Effectively
Mastering precision alignment starts with proper setup and smart techniques. Follow these steps to ensure every project stays on track.
Setting Up Your Laser Level
Start by placing the laser level on a flat surface. Use a spirit level to confirm it’s horizontal or vertical before turning it on. Adjust the base slightly if needed. Always check battery levels first—weak batteries can affect accuracy. For long-range projects, secure the laser to a tripod to avoid accidental movement.
- Align the base using a manual level before activating the laser.
- Test the laser’s dot or line against a known straight edge.
- Calibrate according to the manufacturer’s guide if lines appear skewed.
Practical Tips for Precise Alignments
For vertical precision alignment, combine the laser with a plumb bob to double-check walls. When marking long lines, like floor joists, walk the laser’s line at multiple points to ensure consistency. In bright settings, use a receptor clamp to enhance visibility. Regularly clean the lens with a soft cloth to prevent distortion.
- Work in sections for large areas to maintain focus on each part.
- Avoid using the laser in dusty environments—it can scatter the beam.
- Practice on small surfaces first to get comfortable with the tool’s output.
Troubleshooting Common Laser Level Issues
Having trouble with wobbly lines or misaligned projects? Often, these problems come from calibration drift or neglect. Keeping your laser level calibrated and well-maintained ensures it works right. We’ll look at how to fix calibration errors and how to care for your tool.
Identifying Calibration Errors
Blurred lines or spots that don’t match up mean your tool is off. Look out for these signs:
- Lines that move up or down too quickly
- Gaps between the lines and where they should be
- Laser beams that flicker or are shaky
Most tools have calibration screws. Use the guide from the maker to adjust it. If problems persist, get a pro to fix it.
Maintenance and Care Tips
Take good care of your laser level to avoid problems:
- Clean lenses with a soft cloth to get rid of dust
- Keep it in a cool, dry place
- Check the batteries often to avoid power issues
- Do laser level calibration checks after drops or bumps
Regular upkeep stops expensive fixes and keeps your lines straight. Always follow the manual for the best results.
Conclusion
A laser level is your secret weapon for precise lines and flawless projects. By following setup steps and alignment techniques, you’ve already learned how to avoid common mistakes. Regular maintenance tips like cleaning the lens and checking batteries keep your tool working smoothly.
A well-maintained laser level stays accurate over time, making every DIY job easier. Whether hanging shelves or laying tiles, these methods ensure straight lines and professional results. Don’t forget to store your tool properly to prevent damage.
With the right care, your laser level becomes a trusted partner for years. Now you’re equipped to approach any project confidently, knowing your tools and skills are ready. Proper maintenance tips and smart techniques turn even complex tasks into simple wins. Happy building!