Welcome to our guide on installing dimmer switches. They’re a great way to make any room feel cozier and save energy. There are many types of dimmer switches, each with its own benefits for controlling light.
It’s important to know about these dimmer types and how they fit into your current lighting setup. The right dimmer can give you the perfect lighting for your space.
Installing dimmer switches lets you enjoy energy savings and customize your lighting. Whether you want a cozy or bright atmosphere, dimmer switches are a good choice. With so many types available, you can pick the one that fits your needs best.
Introduction to Dimmer Switches
In this guide, we’ll show you how to install dimmer switches, from start to finish. We’ll talk about the different types, how to control lighting, and share tips for a smooth installation.
Key Takeaways
- Dimmer switches offer energy efficiency and customizable lighting control
- Different dimmer types are available to suit various needs and preferences
- Understanding dimmer types and lighting control is crucial for a successful installation
- Dimmer switches can enhance the ambiance of any room
- Proper installation is necessary to ensure safety and efficiency
- Dimmer switches are a great solution for creating a cozy or bright atmosphere
Understanding Dimmer Switch Basics
Dimmer switches let you change the brightness of a light. This gives you more control over the room’s feel. It’s great for living rooms, bedrooms, and dining areas. Using dimmer switches can also save energy by using less power.
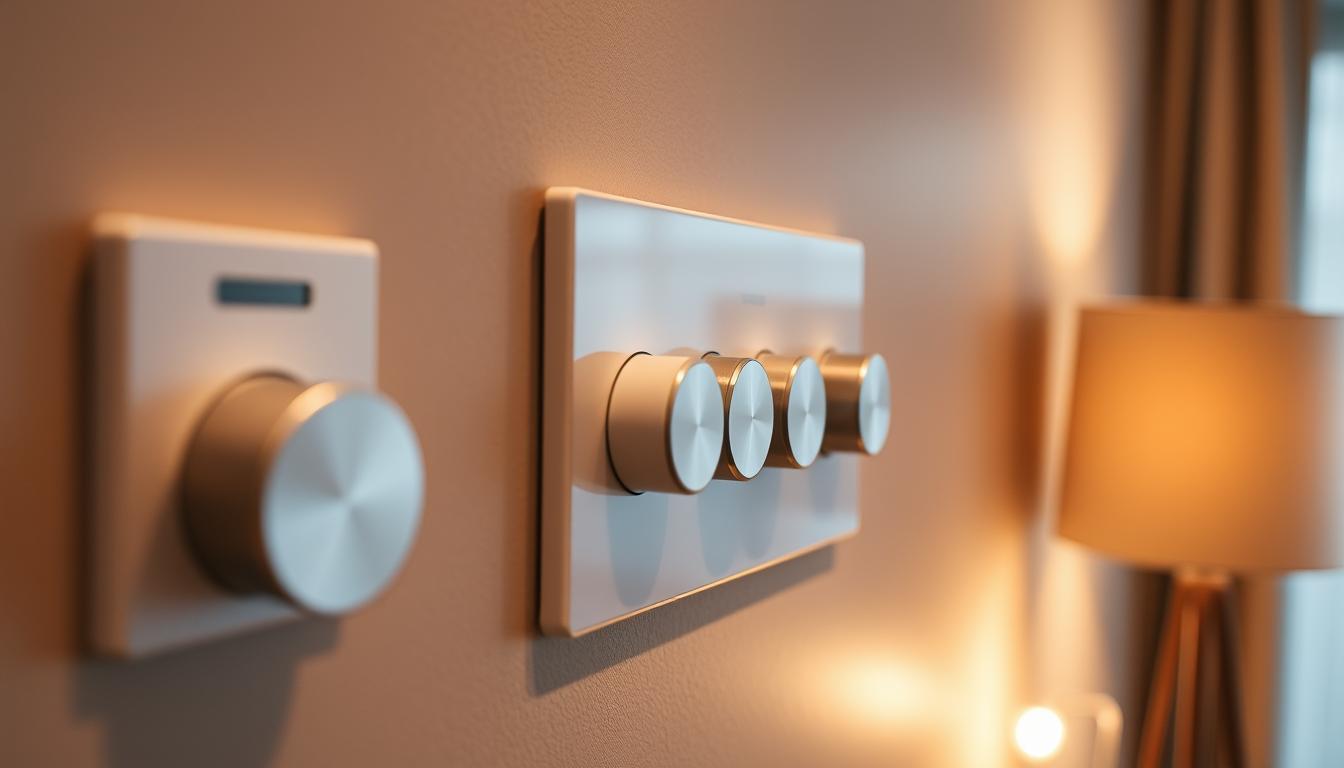
There are many dimmer types, each for different bulbs like LEDs or smart bulbs. This means you can find the perfect dimmer for your needs. You can choose from rotary, slide, or touch dimmers, each with its own feel.
Installing dimmers can make your space feel better, save energy, and be more flexible. They let you create different lighting moods, from soft to bright. Plus, many dimmers work with specific bulbs, making it easy to upgrade.
How Dimmer Switches Work
Dimmer switches control the power to lights, letting you change brightness. They use special parts like variable resistors or semiconductors to manage the current.
Benefits of Dimmer Installation
Dimmer installation offers many perks, like saving energy, improving ambiance, and more control. They help cut down on energy use, make spaces feel cozier, and let you adjust lighting easily.
Types of Dimmer Switches Available
There are many dimmer types, each for different needs. Some popular ones include:
- Rotary dimmers: These use a knob to adjust brightness.
- Slide dimmers: These adjust brightness with a slide.
- Touch dimmers: These use a touch surface to change brightness.
Knowing about these dimmer types and their benefits helps you choose the right one for your space.
Essential Safety Precautions Before Starting
When you’re working on installation safety, it’s key to avoid accidents. Before starting, turn off the power to the circuit you’ll be working on. Make sure it’s safe to proceed. This step is vital to prevent electrical shocks or injuries.
To stay safe during the installation, follow these guidelines:
- Turn off the power to the circuit at the main electrical panel
- Verify the power is off using a voltage tester
- Use insulated tools and equipment to prevent electrical shocks
- Wear protective gear, such as gloves and safety glasses
By following these safety guidelines, you can lower the risk of accidents. This ensures a successful dimmer switch installation. Remember, installation safety is a top priority. Taking the right precautions can save you from potential hazards.
It’s also important to note that installation safety is not just about preventing accidents. It’s also about ensuring the quality of the installation. By taking the necessary precautions, you can ensure your dimmer switch installation is done correctly and safely. This will give you a reliable and efficient lighting system.
Tools and Materials Needed for Dimmer Installation
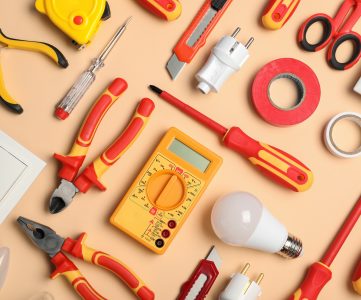
To install a dimmer switch smoothly, you need the right tools and materials. This includes wire connectors for wire connections, a voltage tester for safety, and a load calculator for load calculation.
Here’s a list of what you’ll need:
- Wire connectors and strippers
- Voltage tester
- Load calculator
- Pliers and screwdrivers
- Dimmer switch and mounting hardware
Having these tools and materials ready saves time and reduces errors. Also, some dimmer switches need special wire or connectors. Always check the manufacturer’s instructions before starting.
Don’t forget safety gear like gloves and safety glasses. They protect you from electrical hazards. Being prepared and having the right tools ensures a safe and successful dimmer installation.
| Tool/Material | Description |
|---|---|
| Wire connectors | For secure wire connections |
| Load calculator | For calculating the total load of the lighting circuit |
| Voltage tester | For ensuring safety during the installation process |
Checking Compatibility with Your Lighting System
When you’re getting ready to install a dimmer switch, don’t forget to check if it fits with your current lighting setup. It’s important to make sure your dimmer switch works well with the compatible bulbs you have. Not every dimmer switch is made for every type of bulb, like LEDs or smart bulbs.
To make sure your installation goes smoothly, you need to check if your dimmer switch matches your lighting system. Here are some things to think about:
- Type of bulbs: Make sure your dimmer switch is okay with the bulbs you’re using, like incandescent, halogen, or compatible bulbs like LEDs.
- Wattage: Check if your dimmer switch can handle the total wattage of your lights.
- Dimming range: See if your dimmer switch can give you the dimming range you want for your lights.
By checking compatibility, you can avoid problems during and after installation, like flickering or bulbs not lasting as long. Always read the manufacturer’s instructions and guidelines for specific needs.
In short, checking if your dimmer switch fits with your lighting system is a key part of the installation process. By making sure your dimmer switch is right for your compatible bulbs and lighting, you can have a safe and successful setup.
| Dimmer Switch Type | Compatible Bulb Type | Wattage Range |
|---|---|---|
| Standard Dimmer | Incandescent, Halogen | 0-150W |
| LED Dimmer | LED, Smart Bulbs | 0-100W |
Preparing for Your Dimmer Installation
Before starting the dimmer installation, make sure the site is ready. This means turning off the power to the circuit. This step is key to avoid electrical shocks or injuries.
After turning off the power, remove the old switch carefully. Be gentle to avoid damaging the wire connections.
It’s also important to check the wiring. This helps you understand how it’s set up and spot any problems. Knowing this lets you adjust or add to the wire connections as needed. Preparing the site and checking the wiring ensures a smooth installation.
Here are some key steps to follow when preparing for your dimmer installation:
- Disconnect the power to the circuit at the main electrical panel.
- Remove the existing switch, taking care not to damage the wire connections.
- Inspect the existing wiring to identify any potential issues or areas for improvement.
By following these steps and preparing the site, you can have a successful dimmer installation. You’ll enjoy the benefits of a new switch with better wire connections.
| Step | Description |
|---|---|
| 1 | Disconnect the power to the circuit |
| 2 | Remove the existing switch |
| 3 | Inspect the existing wiring |
Step-by-Step Dimmer Installation Guide
To install a dimmer switch right, follow a step-by-step guide. Focus on installation safety and making sure wire connections are correct. This guide will help you avoid short circuits and other dangers.
Before you start, check the load calculation for the circuit. This ensures the dimmer switch can handle the load. It’s a key step for installation safety and avoiding hazards.
Connecting the Wires
When you connect the wires, follow the manufacturer’s instructions carefully. This helps avoid short circuits. Remember to:
- Identify the right wires for the dimmer switch
- Make sure connections are tight to prevent loose wires
- Double-check the wiring diagram for accuracy
Mounting the Switch
After connecting the wires, mount the dimmer switch securely. Follow the manufacturer’s instructions for this step. It’s important for the switch to work correctly and safely.
Testing the Connection
After installing, test the connection to make sure it’s working right. Turn the power back on and check if the dimmer switch works as expected.
By following these steps and focusing on installation safety and wire connections, you’ll have a successful dimmer switch installation. It will meet your needs and work reliably.
| Step | Description |
|---|---|
| 1. Verify load calculation | Ensure the dimmer switch can handle the load |
| 2. Connect the wires | Follow the manufacturer’s instructions for secure connections |
| 3. Mount the switch | Securely mount the dimmer switch in place |
| 4. Test the connection | Verify the dimmer switch functions correctly and safely |
Troubleshooting Common Installation Issues
Installing a dimmer switch can sometimes lead to problems. One common issue is wire connections that don’t work right. This can cause lights to flicker or not dim properly. It’s important to check these connections for any damage.
Another problem is using incompatible bulbs. This can be dangerous or make the dimmer switch not work well. To fix this, make sure the bulbs match the dimmer switch. Here’s how to do it:
- Check the wire connections for any faults or damage
- Ensure the bulbs used are compatible with the dimmer switch
- Adjust the switch’s settings to optimize performance
By following these steps, you can solve common problems with your dimmer switch. Always check the wire connections and use compatible bulbs to prevent issues.
With a bit of patience and troubleshooting, you can enjoy the benefits of a dimmer switch. These include saving energy and customizing your lighting. If you’re still having trouble, it’s best to get help from a professional electrician.
Programming and Setting Up Advanced Features
Now that you know how to install a dimmer switch, let’s dive into advanced features. Modern dimmer switches offer settings like max and min light levels, preset options, and more. These features make your lighting system more convenient and energy-saving.
Understanding lighting control is crucial. Different dimmer types have unique programming options. Always check your user manual or manufacturer’s guide for details. Some advanced features include:
- Setting maximum and minimum light levels to customize your lighting experience
- Programming preset options to create customized lighting scenes
- Scheduling lighting changes to occur at specific times of the day
Exploring your dimmer switch’s advanced features can greatly enhance your lighting system. It allows you to tailor your lighting to your preferences, offering more control and convenience.
Mastering your dimmer switch’s programming opens up endless possibilities. Whether you want a cozy or bright space, the right dimmer types and settings can make it happen. So, why not elevate your lighting control and explore your dimmer switch’s advanced features today?
| Feature | Description |
|---|---|
| Maximum Light Level | Set the maximum brightness of your lights |
| Minimum Light Level | Set the minimum brightness of your lights |
| Preset Options | Program customized lighting scenes |
Maintenance and Care Tips
To keep your dimmer switch and lighting system working well, regular maintenance is key. This means replacing bulbs with compatible bulbs when they need it. This ensures the right lighting control and keeps the system safe from damage. Also, cleaning the dimmer switch regularly is important. Dust can harm the switch’s performance and lighting control.
Here are some tips to help you maintain your dimmer switch and lighting system:
- Replace bulbs with compatible bulbs to ensure proper lighting control and prevent damage to the system.
- Clean the dimmer switch regularly to prevent dust buildup and maintain optimal performance.
- Periodically check the system for any issues, such as faulty wiring or worn-out components, to ensure lighting control and prevent accidents.
By following these maintenance and care tips, you can make your lighting system last longer. Always use compatible bulbs and follow the manufacturer’s instructions for replacement and maintenance.
Regular maintenance is crucial for your dimmer switch and lighting system to work well. By doing these simple tasks, you can enjoy reliable and efficient lighting control for many years.
Understanding Local Building Codes and Regulations
When you’re installing a dimmer switch, installation safety is key. You must follow local building codes and regulations to ensure a safe and legal setup. These rules can change based on where you are, so it’s important to know the specific ones for your area.
Using compatible equipment is crucial for following local rules. This means picking a dimmer switch that fits the standards in your local building codes. This way, you can make sure your installation is safe and up to code.
Permit Requirements
- Check with your local authorities to determine if a permit is required for the installation
- Obtain the necessary permit before starting the work
- Ensure that the permit is displayed prominently at the work site
Professional Inspection Guidelines
After you’ve finished installing, it’s a good idea to have a pro check your work. They can make sure it meets all the requirements. This helps find any problems and makes sure your installation is safe and follows local rules.
Conclusion
Starting your dimmer switch installation is more than just a lighting upgrade. It’s about changing the feel of your home. Knowing the different types and following safety tips makes it easy to make your space cozy and energy-smart.
Dimmer switches are great for setting the mood or saving on electricity. They let you control light levels, making a big difference in your day. So, begin your dimmer switch project now. Your home will appreciate it.