Proper paint prep is crucial for a successful painting project. It directly affects paint adhesion and the overall quality of the finish. Effective surface preparation is key to achieving a long-lasting, high-quality paint job. With the right techniques and materials, you can ensure a smooth and beautiful finish.
Paint prep involves several steps, including surface preparation, which is critical for paint adhesion. By following the right paint prep procedures, you can prevent common issues such as peeling, flaking, and uneven finishes. In this guide, we will cover the importance of paint prep and provide you with the knowledge and skills necessary to achieve professional-looking results.
Whether you’re a DIY enthusiast or a professional painter, understanding the importance of surface preparation is vital. By investing time and effort into proper paint prep, you can ensure a durable and high-quality finish that will last for years to come.
Key Takeaways
- Proper paint prep is essential for a successful painting project
- Surface preparation is critical for paint adhesion
- Effective paint prep can prevent common issues such as peeling and flaking
- Investing time and effort into paint prep can ensure a durable and high-quality finish
- Understanding the importance of surface preparation is vital to achieving a successful paint job
- Paint prep involves several steps, including surface preparation and primer application
Understanding the Importance of Paint Prep
Proper paint prep is the cornerstone of a successful painting project. It encompasses several steps, such as surface preparation, sanding techniques, and wall cleaning. These steps are crucial for achieving a smooth finish. Without adequate prep, paint may not adhere properly, resulting in a subpar finish and potential costly repairs.
Effective paint prep demands meticulous attention and a deep understanding of the surface. It involves identifying and filling holes or cracks and selecting the right sanding techniques. By investing time in proper surface preparation, you ensure a robust bond between the paint and the surface. This leads to a durable and lasting finish.
Why Preparation Determines Paint Job Success
A well-prepared surface is vital for a successful paint job. It ensures a strong bond between the paint and the surface, promoting even adhesion and longevity. Proper prep also prevents common paint failures like peeling or flaking by smoothing the surface for paint adhesion.
Common Paint Failures Due to Poor Preparation
Poor paint prep can result in several common paint failures, including:
- Peeling or flaking paint
- Uneven paint finish
- Paint not adhering to the surface
These issues can be expensive to rectify and require significant time and effort. By dedicating time to proper surface preparation, you can avoid these failures and achieve a successful paint job.
Long-term Benefits of Proper Preparation
Proper paint prep offers numerous long-term advantages, such as a durable and lasting finish, reduced maintenance costs, and a professional appearance. By investing in thorough surface preparation, you ensure your paint job’s longevity and minimal upkeep. This approach saves time and money over the long term and safeguards your property investment.
Essential Tools and Materials for Paint Preparation
For a successful paint prep project, the right tools and materials are essential. You’ll need various brushes, rollers, and extension poles. Also, paint, primer, and other supplies are crucial. For cleaning walls, cleaning solutions and scrubbers are necessary to remove dirt and grime. Lastly, patching holes requires patching compounds and sandpaper to smooth the surface.
Ensuring a smooth paint job starts with the right materials. Here are some key tools and materials to consider:
- Paint and primer
- Brushes, rollers, and extension poles
- Cleaning solutions and scrubbers
- Patching compounds and sandpaper
When selecting materials, consider the surface type and desired finish. For rough surfaces, a specialized primer may be needed for a smooth finish. Having the right tools and materials ensures a successful paint prep process and a beautiful, lasting finish.
Investing in the right tools and materials saves time and effort. Always follow the manufacturer’s instructions and take safety precautions for a safe, successful painting project.
| Tool/Material | Purpose |
|---|---|
| Paint and primer | To apply a smooth, even finish |
| Brushes, rollers, and extension poles | To apply paint and primer to the surface |
| Cleaning solutions and scrubbers | To clean and prepare the surface for painting |
| Patching compounds and sandpaper | To repair holes and smooth out the surface |
Professional Surface Assessment Techniques
Assessing your walls’ surface is crucial in the paint preparation process. It involves identifying the surface type, evaluating its condition, and testing for moisture. A thorough surface preparation is key for a smooth finish and proper paint adhesion.
To start, identifying the surface type is essential. This can be done by visually inspecting the wall for imperfections or damage. Common surface types include drywall, plaster, and wood. Each requires a unique approach to preparation.
Identifying Surface Types
- Drywall: requires filling holes and cracks with joint compound
- Plaster: may need to be repaired with a plaster patching compound
- Wood: should be sanded to create a smooth surface
Evaluating Surface Conditions
Evaluating the surface condition is also crucial. Look for damage like cracks, holes, or water stains. A surface with poor condition may need extra preparation, such as patching or sanding, for a smooth finish.
Moisture Testing Methods
Moisture testing is vital in the surface assessment process. Use a moisture meter to measure moisture levels in the surface. High moisture levels can harm paint adhesion and result in a poor finish. By combining these techniques, you can ensure proper surface preparation. This is critical for achieving a smooth finish and ensuring proper paint adhesion.
| Surface Type | Surface Condition | Moisture Level |
|---|---|---|
| Drywall | Good | Low |
| Plaster | Fair | Medium |
| Wood | Poor | High |
The Complete Paint Prep Process
When tackling paint prep, a detailed approach is key to a successful painting outcome. This entails cleaning, patching, sanding, and priming. Grasping primer basics is vital, as it greatly influences your project’s success. A quality primer boosts paint adhesion, leading to a finish that lasts.
A surface ready for paint is the cornerstone of a successful painting job. To get there, a structured method is necessary. This includes:
- Cleaning the surface to remove dirt, grime, and other substances
- Patching any holes or cracks to create a smooth surface
- Sanding to create a surface for paint to adhere to
- Applying a primer to enhance paint adhesion and ensure a uniform finish
By adhering to these steps and understanding the role of paint prep and primer basics, you can guarantee a successful painting project. This will result in strong paint adhesion and a finish that lasts.
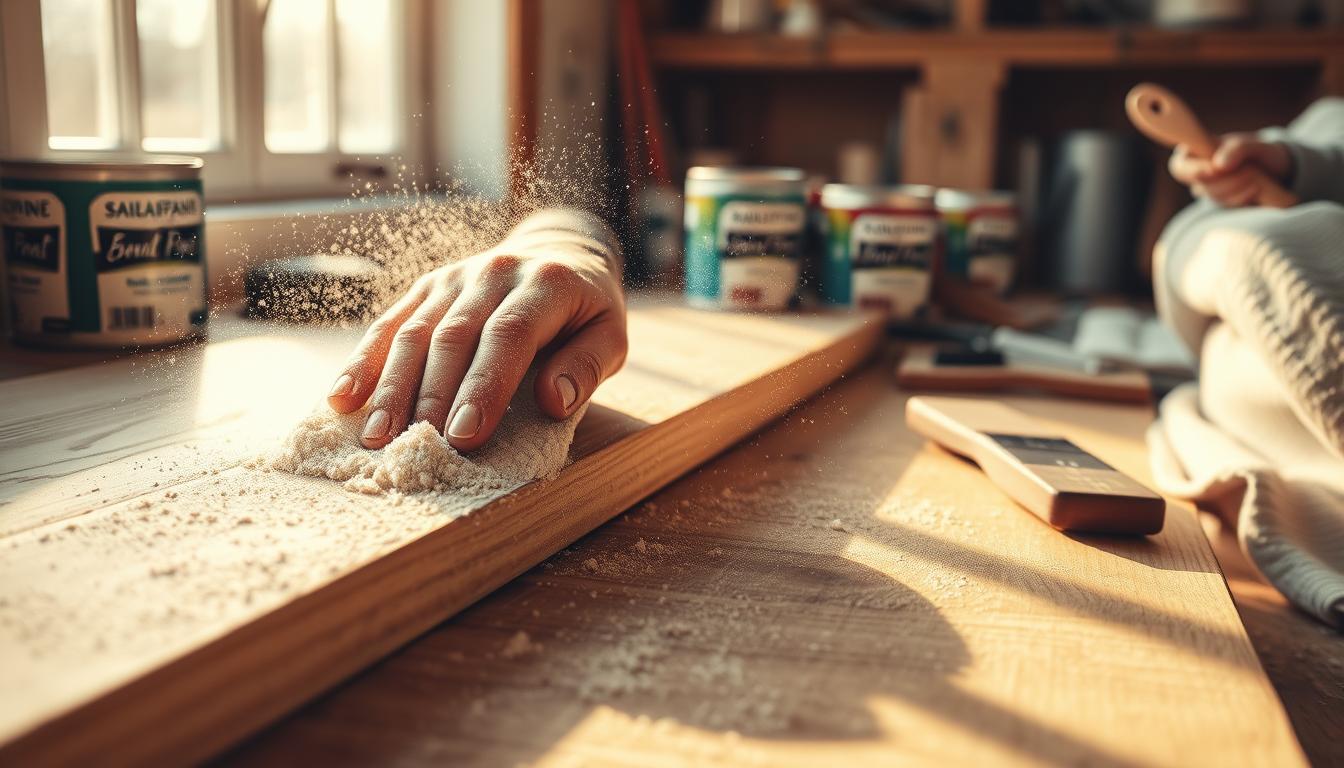
Advanced Sanding Techniques for Perfect Surfaces
To achieve a smooth finish, mastering advanced sanding techniques is crucial. Sanding is a vital step in the paint prep process. It requires the right techniques and tools for a perfect surface. Proper surface preparation is key to a successful paint job, and sanding techniques play a significant role in this process.
When it comes to sanding, several options are available. Dry sanding and wet sanding are two popular methods, each with its own advantages and disadvantages. Dry sanding is more common, but wet sanding can offer a smoother finish. Choosing the right grit is also crucial, as it can affect the final result. A higher grit sandpaper will provide a smoother finish, but it may not be suitable for all surfaces.
Power tools and hand sanding are also important considerations. Power tools can save time and effort, but hand sanding offers more control and precision. By combining these techniques and using the right tools, you can achieve a perfect surface for painting. Remember, proper surface preparation is essential for a successful paint job, and advanced sanding techniques can make all the difference in achieving a smooth finish.
Dry Sanding vs. Wet Sanding
- Dry sanding is a more common method
- Wet sanding provides a smoother finish
- Choosing the right grit is crucial
Choosing the Right Grit
A higher grit sandpaper will provide a smoother finish, but it may not be suitable for all surfaces. It’s essential to consider the type of surface and the desired result when choosing the right grit. By using the right grit and combining it with advanced sanding techniques, you can achieve a perfect surface for painting and ensure a smooth finish.
Wall Repair and Patching Fundamentals
Preparing your walls for painting involves patching holes and cleaning walls. These steps are vital for a smooth finish. Begin by checking your walls for any damage that needs fixing.
To fill holes or cracks, use a patching compound. Apply it to the area and sand it down for a smooth finish. After patching, make sure to clean the walls well. This removes dirt, dust, and debris.
- Choose a high-quality patching compound for a strong repair
- Sand the area well to achieve a smooth finish
- Use a mild detergent and water to clean the walls
By following these steps and tips, you’ll get a smooth finish on your walls. This ensures your paint job looks great. Always focus on surface preparation for a successful paint job.
| Step | Description |
|---|---|
| 1 | Assess the condition of your walls and identify any areas that require repair |
| 2 | Fill in any holes or cracks using a patching compound |
| 3 | Sand the area thoroughly to create a smooth surface |
| 4 | Clean the walls with a mild detergent and water to remove any dirt or debris |
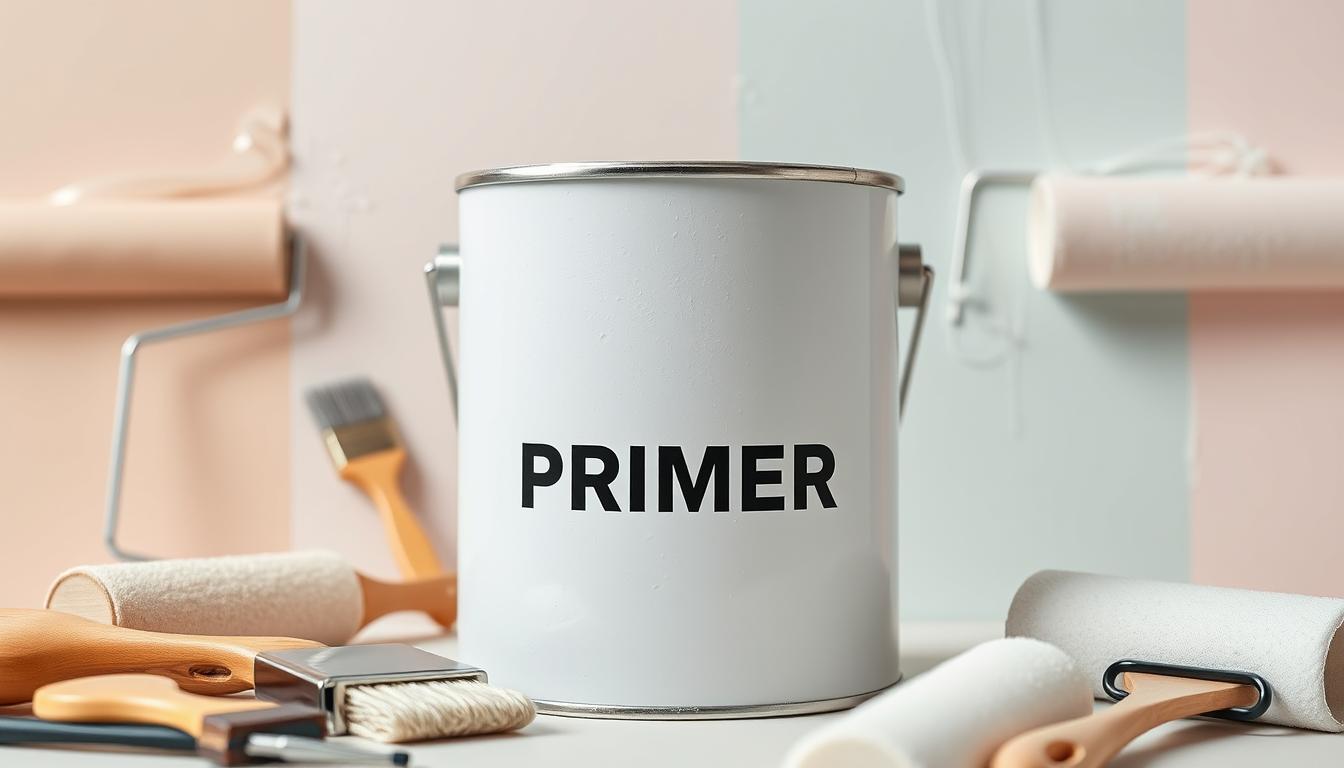
Mastering the Art of Primer Application
Applying primer is a critical step in the paint prep process. It ensures paint adhesion and a smooth finish. Understanding the primer basics is key, including the various types for different surfaces.
When selecting a primer, consider the surface type and condition. For instance, a water-based primer is ideal for most interior surfaces. On the other hand, an oil-based primer is better suited for exterior surfaces or those with stains.
Types of Primers for Different Surfaces
- Latex primers for drywall and plaster
- Oil-based primers for wood and metal
- Epoxy primers for concrete and masonry
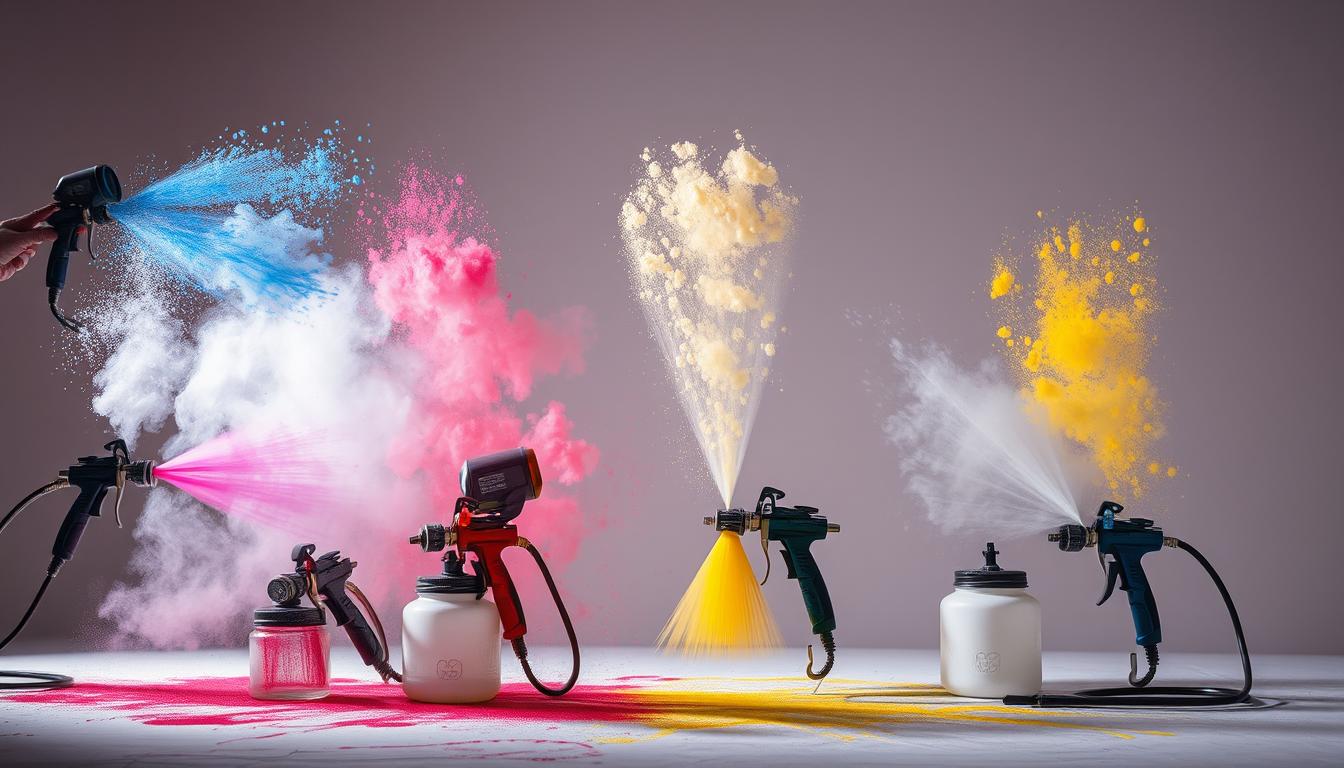
Application Methods and Tips
To achieve a smooth finish, apply primer in thin, even coats. Allow each coat to dry before adding the next. This method prevents unevenness and enhances paint adhesion.
| Primer Type | Application Method | Drying Time |
|---|---|---|
| Latex | Roller or brush | 30 minutes to 1 hour |
| Oil-based | Brush or spray | 1-2 hours |
| Epoxy | Brush or trowel | 2-4 hours |
Environmental Considerations During Paint Prep
Environmental factors are key in surface preparation and paint prep for a successful painting project. Proper preparation is crucial for a smooth, lasting finish. Temperature, humidity, and ventilation significantly affect the prep process.
When preparing surfaces, environmental conditions must be considered for optimal results. Temperature and humidity controls are essential to prevent paint failure and ensure a strong bond. Also, ventilation requirements must be met to avoid fume buildup and ensure a safe workspace.
Key Environmental Considerations
- Temperature: ideal range between 60-80°F (15-27°C)
- Humidity: below 60% to prevent moisture buildup
- Ventilation: proper airflow to prevent fume accumulation
By considering these environmental factors, you can achieve a successful painting project. Always follow safety guidelines and take precautions to protect yourself and the environment.
Weather Impact on Preparation
Weather conditions can affect the paint prep process. Rain, snow, or extreme temperatures can delay or damage the prep. It’s crucial to plan your project based on the weather forecast and protect your work.
By considering environmental factors during surface preparation and paint prep, you can ensure a high-quality finish. Always prioritize safety and follow best practices for the best results.
| Environmental Factor | Ideal Condition |
|---|---|
| Temperature | 60-80°F (15-27°C) |
| Humidity | Below 60% |
| Ventilation | Proper airflow |
Conclusion: Setting Yourself Up for Painting Success
Proper paint preparation is the foundation of a successful painting project. By adhering to the detailed techniques and practices discussed in this guide, you can ensure a stunning, lasting finish. Remember, the key to achieving professional-grade results lies in meticulous attention to detail and thorough surface preparation.
Embark on this journey with a steadfast commitment to safety. Should you need additional guidance, don’t hesitate to seek it. Armed with the right mindset and knowledge, you’ll be able to transform any space with impressive artistry. Your newfound expertise in paint prep will empower you to create lasting masterpieces.