Welcome to the world of routers, a key tool in woodworking. Learning about wood router basics is vital for beginners. A router tutorial is a great starting point, offering a detailed guide to router basics.
A router is a versatile power tool used in many woodworking tasks. These include edge profiling, joinery, and decorative trimming. Starting with routing might seem daunting, but with the right help, you’ll soon be making beautiful projects. This article will be your guide to router basics, covering all the essential topics.
As you start your routing journey, knowing the basics is crucial. You need to understand the tool, its parts, and safety rules. A good router tutorial will make you feel confident in the world of routing.
Key Takeaways
- Understanding wood router basics is essential for any beginner
- A router tutorial provides a comprehensive guide to getting started with routing
- Beginner routing requires practice and patience to master
- Wood router basics include safety guidelines, tool components, and application techniques
- A well-structured router tutorial will help you navigate the world of routing with confidence
- Router basics are crucial for creating stunning woodworking projects
Understanding Your Wood Router
Knowing your wood router is key for safe and effective use. It’s a versatile tool for tasks like edge profiling and mortising. Understanding how to set it up and use it is crucial.
Before starting, learn about the different types of routers. This helps you pick the right one for your projects. You’ll find fixed-base and plunge routers, each with its own uses.
Different Types of Routers
- Fixed-base routers: ideal for edge profiling and rabbeting
- Plunge routers: suitable for mortising and making precise cuts
It’s also important to know the parts and features of your router. The motor, collet, and base are all vital for its performance. Learning about these will help you use your router better and make professional-looking projects.
Key Components and Features
Power ratings are important in wood routers. A higher rating means the router can handle tough tasks. Choose a router with the right power rating for your projects for the best results.
Essential Router Safety Guidelines
Working with power tools like routers requires safety first. It’s key to follow safety guidelines to avoid accidents. By learning router techniques and sticking to safety rules, you can reduce risks and get great results.
First, wear the right clothes, like safety glasses, a dust mask, and ear protection. Also, keep your hair and loose clothes away from the router. Here are some important safety tips:
- Always read the manufacturer’s instructions and follow recommended safety guidelines.
- Keep the work area clean and clear of debris to prevent accidents.
- Use a push stick or other safety device to maintain control of the workpiece.
- Avoid wearing jewelry or loose clothing that could get caught in the router.
By following these safety guidelines and using good router techniques, you can have a safe and successful time. Always stay alert and focused when using power tools. Never sacrifice safety.
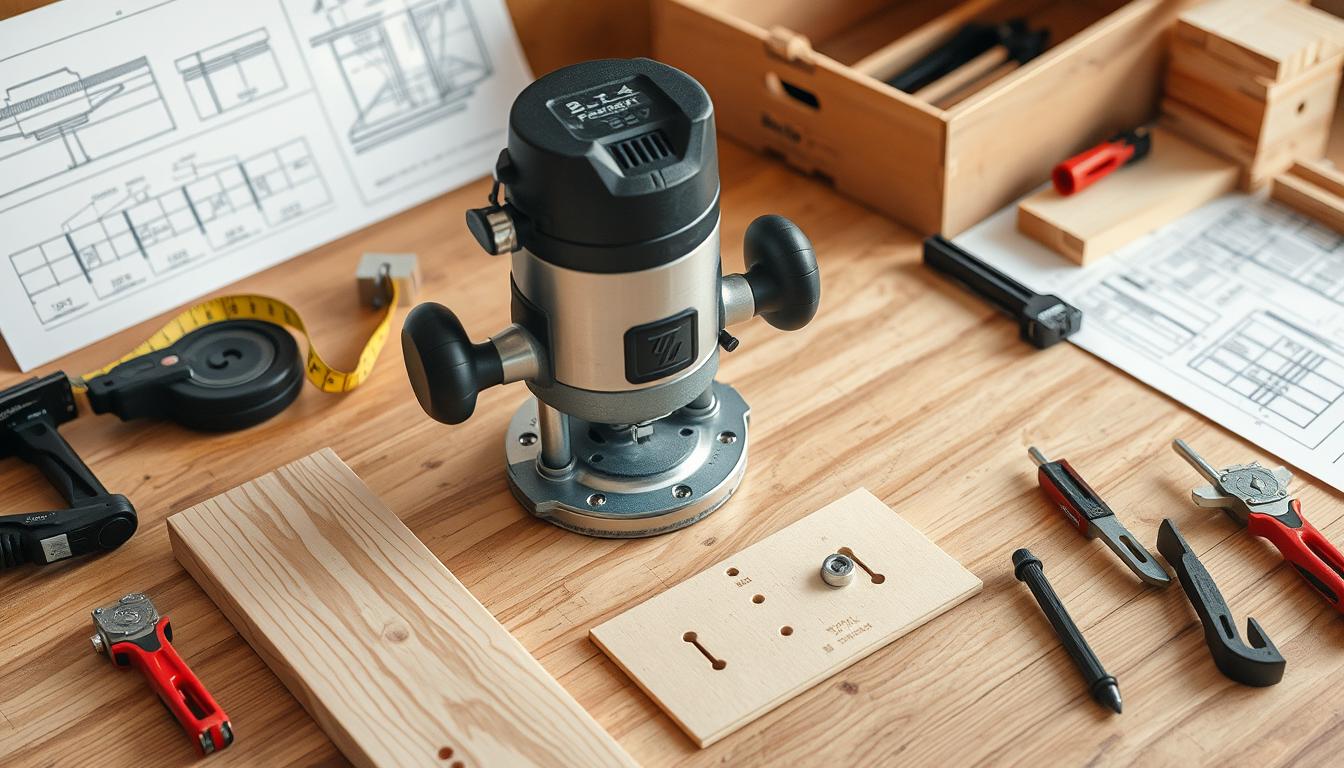
Router Basics: Setting Up Your Workspace
A well-organized workspace is crucial for safe and efficient work with a woodworking router. Setting up your router correctly makes your workspace both functional and comfortable. It’s important to think about your workspace layout and the tools you need nearby.
Begin by setting up a stable work surface. This could be a dedicated router table or a flat area that can hold your router and material. A stable surface is key for safe and precise routing.
Creating a Stable Work Surface
To set up a stable work surface, follow these tips:
- Choose a surface that is flat and level
- Ensure the surface is large enough to hold your router and material
- Use a router table or similar setup for extra support and stability
Good lighting and ventilation are also vital for a safe workspace. Bright lighting helps you see your work and the router setup. Ventilation keeps dust and debris out of the air, reducing health risks and improving visibility.
Proper Lighting and Ventilation
Lastly, keeping your tools organized is essential for a safe and efficient workspace. Have your tools, including your woodworking router, organized and easy to access. This reduces distractions and accident risks.
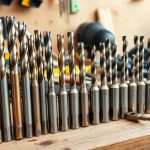
Choosing and Understanding Router Bits
Router bits are key to a successful project with a router. With many types of router bits out there, picking the right one can be tough. Knowing the different types and their uses is crucial for the best results.
Common router bits include straight bits, rabbeting bits, and edge-forming bits. Each is made for a specific task, like cutting straight edges or creating decorative edges. Choosing the right router bit ensures your project looks great and is done safely and efficiently.
When picking a router bit, think about the material, the edge you want, and how precise you need it. Check the manufacturer’s advice or ask a pro if you’re not sure. Understanding and choosing the right router bits will help you succeed with your projects.
- Consider the type of material you’ll be working with
- Think about the desired edge profile
- Choose a router bit that meets your precision requirements
By following these tips and picking the right router bits, you’ll get professional-looking results. You’ll also enjoy a safe and efficient routing process.
Mastering Router Controls and Adjustments
To get the most out of your router, it’s key to know its controls and how to adjust them. Learning router techniques and router setup is vital for precision and safety. By adjusting depth, speed, and guides right, you’ll tackle many projects with confidence.
When setting up your router, consider a few important things. Here are some tips to remember:
- Always check your router’s manual for setup and adjustment instructions.
- Begin with small, gentle adjustments and then increase as needed.
- Practice on scrap wood before starting a real project.
By following these tips and mastering router techniques, you’ll become a skilled woodworker. Always put safety first and take your time when adjusting your router.
With patience and practice, you’ll get professional-looking results. Enjoy the satisfaction of creating something with your own hands. Whether you’re new or experienced, mastering router controls and adjustments is crucial.
| Router Adjustment | Description |
|---|---|
| Depth Setting | Adjusting the depth of the router bit to achieve the desired cut. |
| Speed Control | Adjusting the speed of the router to optimize performance for different materials. |
| Fence and Guide Setup | Setting up the fence and guide to ensure precise and accurate cuts. |
Essential Routing Techniques
Learning different router techniques is key for any woodworking project. A woodworking router is great for edge profiling, rabbeting, and dadoing. These skills help make your woodworking look professional.
Some common router techniques include:
- Edge profiling: used to create decorative edges on wood
- Rabbeting: used to create a recessed area in wood
- Dadoing: used to create a slot in wood for joining two pieces together
Using a woodworking router right can really improve your projects. By practicing these techniques, you can get better and make your work look great.
Always follow safety rules and use the right tools for each job. With practice, you can master many router techniques and enhance your woodworking.
Common Routing Mistakes to Avoid
Setting up your router right is key for great results. But, even with good knowledge, mistakes can still happen. Knowing and avoiding common errors can save a lot of time and trouble, mainly during setup.
Some common mistakes include speed issues, depth errors, and picking the wrong material. These can mess up your cuts, lead to wrong results, or make your router work hard or fail. By knowing these issues, beginners can dodge them and get better at routing.
To steer clear of these mistakes, it’s vital to stick to the right techniques and rules. This means:
- Choosing the right router bit for the task
- Setting the correct depth and speed for the material
- Keeping the router in good shape and calibrated
By following these tips and watching out for common errors, beginners can become experts at routing. They’ll get professional-looking results with their router setup.
| Mistake | Consequence | Prevention |
|---|---|---|
| Speed-related issues | Poor cut quality | Use the correct speed for the material |
| Depth setting errors | Inaccurate results | Double-check the depth setting before routing |
| Material selection problems | Router struggle or failure | Choose the correct material for the project |
Your First Router Project: Edge Profiles
Now you know your woodworking router well. It’s time to try a simple project. Edge profiles are a great start. They help you practice and look professional.
To start, you need some basic stuff. This includes wood, a router bit, and a fence or guide. The exact stuff you need depends on the edge profile you want. Here’s a quick list of what you’ll need:
Project Materials Needed
- 1 piece of wood (e.g., pine or maple)
- 1 router bit (e.g., a 1/4″ roundover bit)
- 1 fence or guide
- Safety glasses and a dust mask
With your materials ready, follow these steps to make your edge profile. Always be safe with power tools. Take your time for the best results. Soon, you’ll be making edge profiles like a pro.
Step-by-Step Instructions
- Set up your woodworking router as the manual says.
- Attach the router bit and fence or guide.
- Put the wood on a stable surface and adjust the fence or guide.
- Turn on the router and slowly move it along the wood’s edge, following the fence or guide.
By following these steps and practicing, you’ll get better at making edge profiles. This project is a great first step in your router tutorial. It will boost your confidence for more challenging projects.
Conclusion: Taking Your Router Skills Forward
Now that you’ve learned the basics of routers and finished your first project, the future looks bright. Woodworking with a router gets better with each try. Keep improving your skills and explore new things to make.
Try out different router bits and projects to find new uses for this tool. Aim for more complex tasks like making fancy moldings or custom furniture. The more you use your router, the better you’ll get.
Remember, mastering a router takes time and patience. Keep learning and don’t worry about mistakes. They help you grow. With every project, you’ll learn more about your router and get better at using it.
To keep moving forward, look for more resources and tutorials. Connect with other woodworkers and join online groups. There’s a lot of knowledge out there to help you improve. The future is full of possibilities, so be brave and let your creativity shine.