To transform a room into a stunning space, the right painting techniques are essential. With the correct approach, you can achieve professional results, whether you’re an experienced DIYer or a novice. Expert guidance ensures a flawless, long-lasting paint job that elevates your room’s aesthetic.
Unlocking the secrets to professional results is possible with the right tools and knowledge. Painting techniques are key to the project’s success. By mastering surface preparation, paint selection, and various techniques, you’ll create a space that showcases your style.
Professional results demand attention to detail and a deep understanding of the painting process. Combining the right techniques with quality materials creates a space of elegance and sophistication. This approach brings satisfaction and pride in your DIY success.
Key Takeaways
- Mastering painting techniques is essential for achieving professional results
- Preparing surfaces and selecting the right paints are critical steps in the painting process
- Applying various painting techniques can enhance the overall aesthetic of your room
- Combining the right techniques with high-quality materials is key to achieving DIY success
- Attention to detail is crucial for achieving a flawless, long-lasting paint job
- With the right approach, you can create a stunning space that reflects your personal style
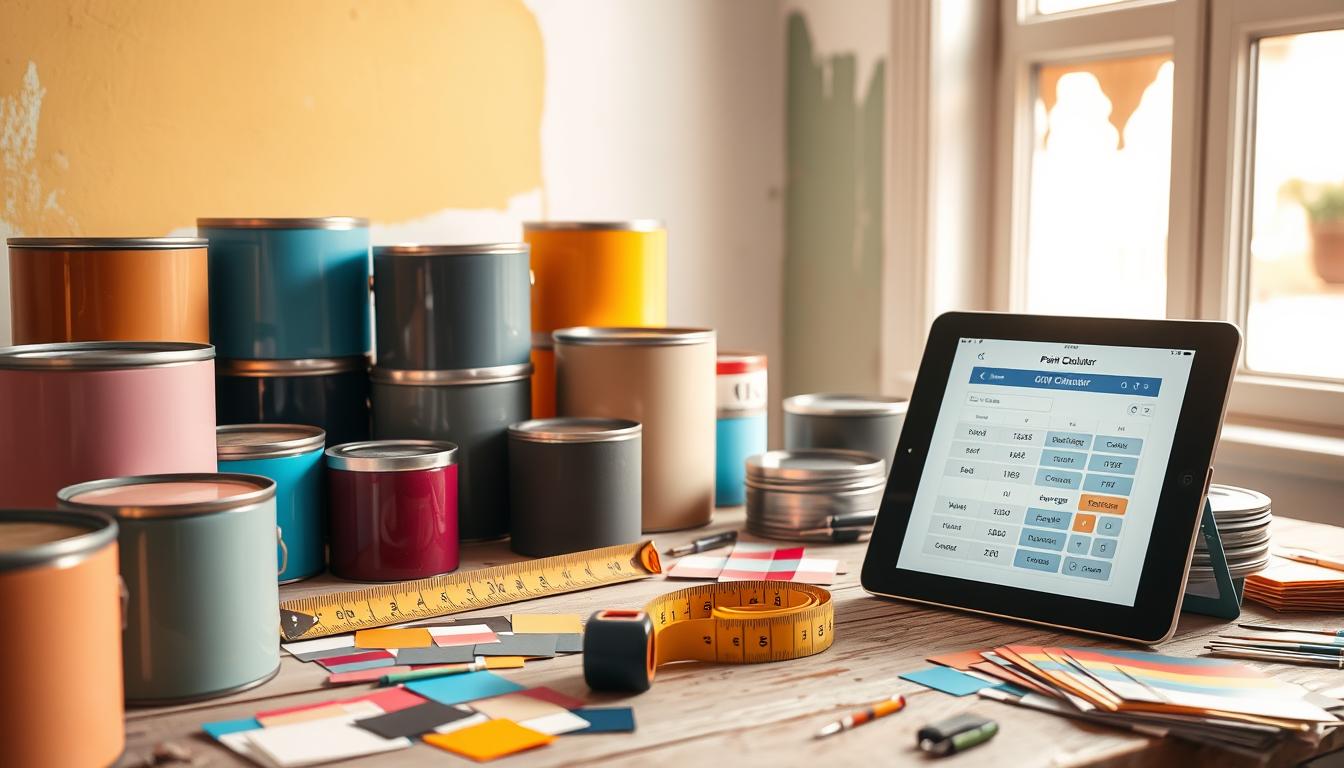
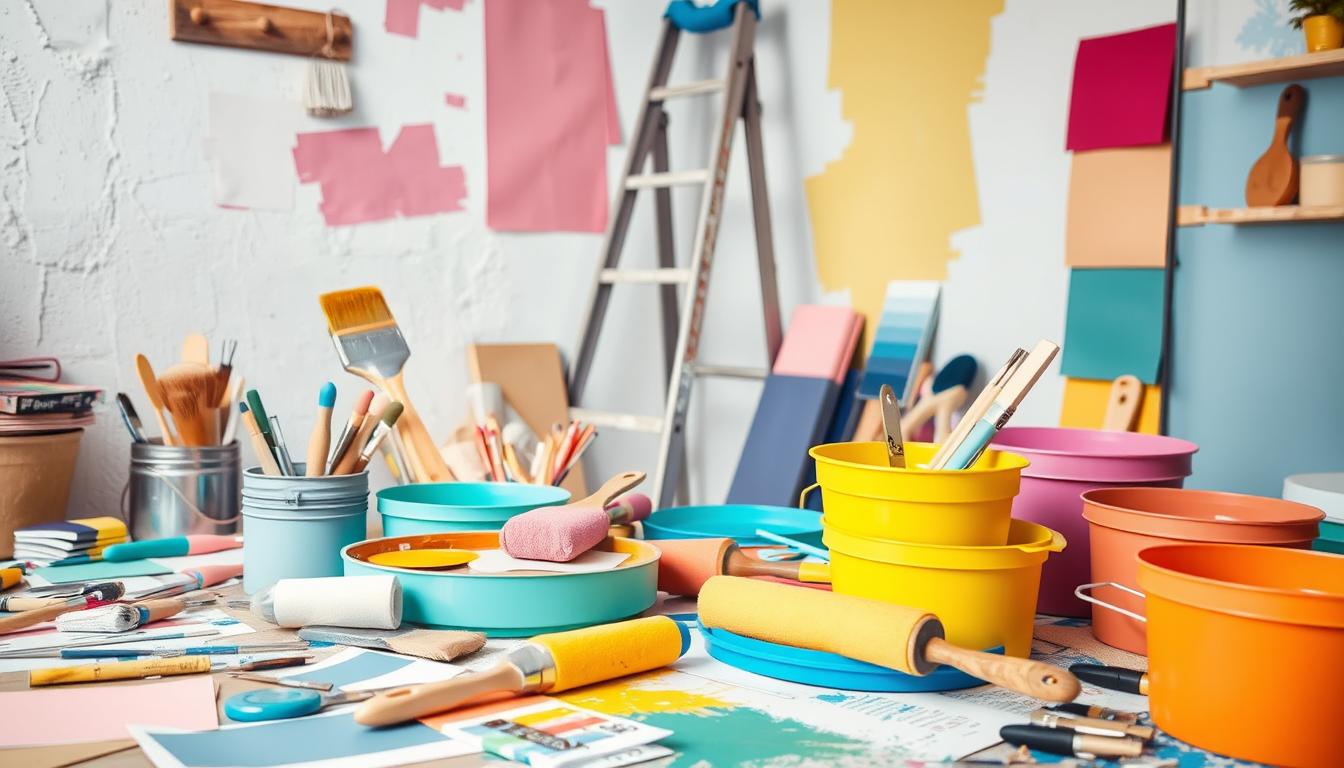
Essential Painting Tools and Materials for Professional Results
For a professional finish, the right tools and materials are key. This means investing in top-notch brushes and rollers, picking the perfect paint, and using additional tools. These steps help you master various painting methods, including cutting in and achieving a smooth finish.
Understanding the tools and materials available is crucial. Here are some pro tips to remember:
- Choose brushes and rollers made for your paint and surface type.
- Pick a paint that meets your project’s needs, considering color, finish, and durability.
- Invest in tools like paint trays, drop cloths, and sandpaper for a professional finish.
By following these pro tips and using the right tools, you’re on your way to a professional finish. Always consider the painting methods and techniques needed for your project. Don’t hesitate to experiment and try new things. With practice and patience, you’ll master cutting in and other techniques, making your projects look amazing.
Proper Surface Preparation: The Foundation of Quality Painting
For a professional finish, surface preparation is essential. It sets the stage for a successful painting project, ensuring a smooth, even surface. Proper preparation leads to a durable, long-lasting finish that boosts your space’s appearance.
Understanding the need for cleaning, sanding, and priming is crucial. Different surfaces, like wood, drywall, and metal, demand specific preparation methods. Wood might need sanding to remove imperfections, while metal requires a special primer for paint adhesion.
Key steps in surface preparation include:
- Cleaning the surface to remove dirt, grime, and grease
- Sanding to smooth out imperfections and create a even surface
- Priming to create a strong bond between the surface and paint
By following these steps and using the rightpainting techniques, you’ll achieve a high-quality finish. This showcases yourquality paintingabilities.
Remember, proper surface preparation is the cornerstone of a successful painting project. By investing in correct preparation, you’ll enjoy a beautiful, lasting finish that enhances your space’s look.
Understanding Different Paint Techniques for Various Surfaces
Different surfaces demand unique painting techniques for even coverage. Walls, ceilings, and trim each require specific methods. Rolling walls efficiently covers large areas, but the right roller and technique are key to prevent streaks and unevenness.
Brush strokes are crucial for a smooth finish, vital for trim and detail work like baseboards and moldings. The correct brush and technique ensure a professional finish that enhances the room’s overall look.
- Use a high-quality roller to roll walls and achieve even coverage
- Apply brush strokes in a consistent and controlled manner
- Use a level to ensure straight lines and even edges
Mastering these techniques and using the right tools can transform your home’s look. Always prepare surfaces well and use top-notch paint for a lasting finish.
| Surface | Technique |
|---|---|
| Walls | Rolling with a high-quality roller |
| Trim and detail work | Brush strokes with a high-quality brush |
| Ceilings | Rolling with a high-quality roller and extension pole |
Mastering the Art of Cutting In
Cutting in is a critical step in painting that demands patience and skill. To achieve a professional finish, mastering cutting in and understanding edge control is essential. This involves using specific brushes and tools for painting edges, corners, and tight spaces with precision.
When tackling corner techniques, several methods are worth exploring. Here are some tips to begin with:
- Choose a high-quality brush with synthetic bristles for a smooth finish
- Apply a small amount of paint to the brush and work in small sections
- Use a steady hand and take your time to avoid mistakes
By adhering to these tips and honing your edge control and corner techniques, you’ll achieve crisp, clean lines and a professional finish. Remember, patience is key, as cutting in can be both challenging and rewarding.
| Technique | Description |
|---|---|
| Cutting in | Painting edges and corners with precision and accuracy |
| Edge control | Using specialized brushes and tools to control the paint flow |
| Corner techniques | Methods for painting corners and tight spaces with precision |
Rolling Walls Like a Professional
To achieve professional results when painting, mastering the technique of rolling walls is crucial. It requires the right tools and practice to perfect the art. Rolling walls is a fundamental painting technique, significantly impacting the final look.
Here are some tips for rolling walls like a pro:
- Choose the right roller for the job, considering the paint and surface type
- Apply the right amount of paint to the roller to prevent drips and uneven coverage
- Work in sections to ensure even coverage and avoid streaks
By adhering to these tips and honing your rolling walls technique, you’ll achieve a smooth, professional-looking finish. This is crucial for techniques requiring precision, such as painting large areas.
Remember, achieving professional results requires patience and time. Don’t rush the process. Ensure you work in a well-ventilated area to avoid inhaling paint fumes. With practice and the right painting techniques, you’ll master rolling walls in no time.
| Tool | Description |
|---|---|
| Roller | Used to apply paint to large areas |
| Paint Tray | Used to hold and transport paint |
| Extension Pole | Used to reach high areas without a ladder |
Expert Brush Stroke Techniques for Flawless Finish
To achieve a flawless finish, mastering brush strokes is crucial. Brush strokes are a key part of painting, influencing the final look. By employing the right techniques, you can achieve a smooth, even surface without brush marks or imperfections.
Several brush stroke techniques are worth noting. Basic brush control is fundamental, allowing for precise pressure and movement. This enables the creation of various patterns and textures. Common strokes include:
- Flat brush strokes: used for creating smooth, even surfaces
- Round brush strokes: used for creating curved lines and shapes
- Angular brush strokes: used for creating sharp, defined edges
Alongside basic control, pattern and direction methods are vital. Varying stroke direction and pattern can produce a range of effects, from subtle texture to bold patterns. Smoothing and leveling are also key, helping to eliminate brush marks and achieve a uniform surface.
By honing these advanced brush stroke techniques, your painting can reach new heights. Whether aiming for a textured background or a geometric pattern, the right methods are transformative.
With dedication and practice, you can refine your skills for professional-looking results. Combining the right brush strokes with effective painting methods will yield a flawless finish that impresses.
| Brush Stroke | Technique | Effect |
|---|---|---|
| Flat | Smooth, even pressure | Smooth surface |
| Round | Curved motion | Curved lines and shapes |
| Angular | Sharp, defined motion | Sharp edges |
Achieving Even Coverage: Tips and Tricks
To achieve a professional-looking paint job, even coverage is essential. This can be accomplished by working in sections, maintaining the right amount of paint on your roller, and avoiding streaks and roller marks. Using the right paint and choosing the perfect color for your project are also crucial.
Some pro tips for achieving even coverage include using high-quality painting techniques, such as rolling in a “W” or “M” pattern, and working in small sections to maintain even coverage. It’s also important to use the right amount of paint on your roller to avoid excess paint and streaks.
Here are some additional tips for achieving even coverage:
- Use a high-quality roller with the right nap length for your paint and surface
- Work in small sections, about 4 feet by 4 feet, to maintain even coverage
- Use a paint tray with a grid to remove excess paint from your roller
- Avoid applying too much paint to your roller, as this can cause streaks and roller marks
By following these painting techniques and pro tips, you can achieve a smooth, even finish that’s free of imperfections. Remember to always use the right paint and choose the perfect color for your project to ensure a professional-looking result.
Even coverage is key to a professional-looking paint job, and by using the right painting techniques and pro tips, you can achieve a beautiful, even finish.
Advanced Paint Application Techniques
Advanced paint application techniques are crucial for achieving a professional finish. Mastering layering methods, texture creation, and special effects can elevate your painting project. These techniques add depth, dimension, and visual interest to surfaces.
Layering is a key technique to explore. It involves applying multiple thin layers of paint for specific colors, textures, or effects. This method allows for intricate patterns, subtle color shifts, and unique textures. Texture creation is also vital, using tools like textured rollers, stencils, or fabric.
Exploring Layering Methods
- Apply thin layers of paint to achieve a specific color or texture
- Use glazing techniques to add depth and dimension
- Experiment with different layering patterns, such as stripes or chevrons
Texture Creation Techniques
Texture creation is an art that adds visual interest to spaces. The right tools and materials can produce a variety of textures, from smooth to rough. Techniques include using textured rollers, stencils, or fabric for unique patterns.
Incorporating these advanced techniques into your project can result in a professional finish. Whether enhancing a single room or transforming your home, mastering these methods is key. They help achieve your desired look.
| Technique | Description |
|---|---|
| Layering | Applying multiple thin layers of paint to achieve a specific color or texture |
| Texture Creation | Using specialized tools and materials to add texture and visual interest |
| Special Effects | Using techniques such as glazing or metallic paint to add depth and dimension |
Troubleshooting Common Painting Problems
Even with the best painting techniques and tools, painting problems can still arise. To ensure a professional-looking finish, it’s essential to know how to troubleshoot common issues. Problems like drips and runs, uneven coverage, and paint bleeding can be frustrating. But, they can be fixed with the right approach.
Understanding the causes of painting problems is crucial for troubleshooting. This involves knowledge of painting techniques and materials. By identifying the root cause, you can apply the appropriate solution. For example, drips and runs often result from too much paint on the brush or roller. Uneven coverage can stem from inadequate surface preparation.
Common Painting Problems and Solutions
- Drips and runs: Use a paintbrush or roller with the right amount of paint, and work in small sections to maintain control.
- Uneven coverage: Ensure proper surface preparation, including cleaning and priming, to create a uniform base for painting.
- Paint bleeding: Apply a primer designed to prevent paint bleeding, and use high-quality paint that is less prone to bleeding.
Mastering troubleshooting techniques and understanding common painting problems can lead to a professional-looking finish. Always follow proper painting techniques and use high-quality materials to minimize problems. With practice and patience, you’ll become proficient in identifying and fixing common issues. This ensures a beautiful and long-lasting paint job.
By applying these troubleshooting tips and techniques, you’ll overcome common painting problems and achieve a stunning, professional-looking finish. Whether you’re a seasoned painter or a DIY enthusiast, mastering troubleshooting is essential. With the right knowledge and techniques, you can ensure a successful painting project.
Time-Saving Professional Painting Methods
When it comes to painting, time-saving methods can make all the difference. By using the right painting techniques and tools, you can save hours of work and achieve a professional finish. Professional painting is not just about applying paint to a surface, but also about working efficiently and effectively.
To achieve this, it’s essential to plan and prepare your painting project carefully. This includes creating a schedule, prioritizing tasks, and using the right tools and materials. Some time-saving methods include using high-quality paintbrushes and rollers, preparing your surface properly, and applying paint in a systematic and organized manner.
Here are some tips to help you work more efficiently:
- Use a professional painting checklist to ensure you have all the necessary tools and materials.
- Prepare your surface by cleaning, sanding, and filling any holes or cracks.
- Apply paint in a systematic and organized manner, using painting techniques such as cutting in and rolling.
By following these tips and using the right time-saving methods, you can achieve a professional finish and complete your painting project quickly and efficiently.
Maintaining Your Painted Surfaces
To ensure your painted surfaces remain in top condition, adopting the right maintaining painted surfaces methods is crucial. This entails consistent cleaning techniques to eliminate dirt and grime. It also involves touch-up strategies for fixing any damage.
Effective cleaning techniques include dusting with a soft cloth, using a damp sponge, and a mild detergent solution. For tougher stains, a gentle scrubber or a specialized cleaning product might be required.
When it comes to touch-up strategies, accurately matching the original paint color is key. This can be done by using a paint sample or seeking advice from a professional painter. Applying a primer before touching up is also essential for a smooth finish.
By adhering to these guidelines, you can significantly prolong the life of your painted surfaces. Always opt for gentle cleaning techniques and touch-up strategies to prevent paint or surface damage.
| Cleaning Technique | Surface Type | Frequency |
|---|---|---|
| Dusting with a soft cloth | Smooth surfaces | Weekly |
| Wiping with a damp sponge | Textured surfaces | Bi-weekly |
| Using a mild detergent solution | Stubborn stains | As needed |
Conclusion: Bringing It All Together for a Professional Finish
Throughout this guide, we’ve covered the essentials for a professional-looking finish in DIY painting projects. You’ve learned about the importance of techniques, tools, and materials. Now, you’re equipped to transform any space with a flawless, professional finish.
Success in painting projects comes from attention to detail and practice. By following our expert advice and step-by-step guides, you’re on the path to DIY success. Your beautifully painted environment will impress everyone who sees it.
Remember to inspect your work carefully, make any needed adjustments, and take care of your painted surfaces. This ensures your project lasts. With dedication and a focus on excellence, you can achieve professional-grade results in any space.