As a homeowner, you might face electrical issues that are both frustrating and expensive. Learning to solve these problems yourself can save you a lot of money and time. You can fix common lighting issues like flickering lights and faulty switches without calling an electrician.
Understanding electrical problems can make you more self-sufficient. By learning to diagnose and repair common lighting issues, you can avoid the cost and hassle of hiring an electrician. This guide will help you learn how to troubleshoot and repair these problems, boosting your confidence in tackling electrical issues.
We aim to give you a detailed guide on common lighting problems and how to solve them yourself. We’ll cover issues like circuit breaker problems and bulb-related issues. By following this guide, you’ll become better at solving electrical problems and more confident in your abilities.
Key Takeaways
- Develop problem-solving skills to tackle common lighting problems
- Learn DIY troubleshooting techniques to save money and time
- Understand electrical issues and how to address them
- Identify and fix lighting problems, including flickering lights and faulty switches
- Become more self-sufficient and confident in your ability to tackle electrical issues
- Follow a comprehensive guide to common lighting problems and DIY troubleshooting solutions
Essential Safety Precautions Before Light Troubleshooting
When working with electrical systems, safety comes first. Before you start any DIY repairs, like fixture repair, make sure to protect yourself. Wear gloves and safety glasses to avoid injuries or electrical shocks.
A voltage tester is a must-have for fixing light flickering issues. It checks for electricity in circuits, keeping you safe. It’s also important to know your home’s electrical setup. This includes where circuit breakers, fuse boxes, and main electrical panels are.
Required Safety Equipment
- Gloves
- Safety glasses
- Voltage tester
When to Avoid DIY Repairs
Don’t try DIY repairs for complex electrical systems or high-voltage wiring. These jobs are best left to a professional electrician. It’s safer for you and your home.
Understanding Your Home’s Electrical System
Learning about your home’s electrical system helps you fix problems safely and well. Know how to use your circuit breaker or fuse box. Also, be aware of any electrical dangers in your home.
Basic Tools Needed for Lighting Repairs
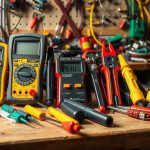
For lighting repairs, having the right tools is key. You’ll need a screwdriver, pliers, wire strippers, and a voltage tester. A multimeter is also crucial for circuit testing. It helps spot electrical problems and makes repairs safe and efficient.
Also, a circuit tester and wire nuts are important. They find electrical issues and ensure connections are secure. Here are the basic tools you’ll need for lighting repairs:
- Screwdriver
- Pliers
- Wire strippers
- Voltage tester
- Multimeter for circuit testing
- Circuit tester
- Wire nuts
With these tools, you can do circuit testing and find electrical problems. Always be careful when working with electrical systems.
Having these basic tools helps with safe and efficient lighting repairs. Remember, circuit testing needs caution to avoid electrical shocks or injuries.
| Tool | Description |
|---|---|
| Screwdriver | Used for tightening and loosening screws |
| Pliers | Used for gripping and bending wires |
| Wire strippers | Used for stripping insulation from wires |
Understanding Common Light Switch Problems
Light switches are key to our daily lives. When they fail, it’s frustrating and can be dangerous. A common problem is a hot or buzzing switch, which might mean a bigger electrical issue. This could be due to bulb problems or a faulty switch.
Signs of switch failure include flickering lights or trouble turning them on or off. Use a voltage tester to find faulty switches. Replacing them is crucial to avoid more electrical problems and bulb problems.
Hot or Buzzing Switches
A hot or buzzing switch is a serious warning sign. If your switch feels hot or buzzes, act fast. It could be a faulty switch or a bigger electrical problem, like wiring issues or a bulb problem.
Switch Failure Signs
Look out for these signs of switch failure:
- Flickering lights
- Difficulty turning switches on or off
- A hot or buzzing switch
Quick Switch Testing Methods
To test your switch, use a voltage tester. It can show if the switch is bad or if there’s a bigger electrical issue. Also, check for bulb problems and replace bulbs if needed.
Knowing about common light switch problems helps keep you safe. It also prevents more electrical issues, like bulb problems.
| Problem | Solution |
|---|---|
| Hot or buzzing switch | Replace the switch or address the underlying electrical issue |
| Flickering lights | Check for faulty bulbs or switches and replace if necessary |
| Difficulty turning switches on or off | Check for faulty switches or wiring and replace if necessary |
Diagnosing Flickering Light Issues
Flickering lights can be really annoying. Finding out why they flicker is the first step to fixing them. Wiring issues are often the main problem. To solve it, you need a step-by-step plan.
First, make sure the light fixtures are installed right. This is key to start solving the problem.
Loose wiring connections can cause flickering lights. It’s important to check these connections. Here’s how to do it:
- Turn off the power to the light fixture at the circuit breaker or fuse box.
- Remove any glass covers or shades to access the wiring.
- Check the wiring connections for looseness or damage.
Another reason for flickering lights is wiring issues in the electrical circuit. This can be harder to find, but a detailed check of the circuit can help. By following these steps and using a systematic approach to problem solving, you can find and fix the problem. This will make sure your lights work well and don’t flicker.
Always be careful when working with electrical systems. If you’re not sure about anything, it’s best to get help from a professional.
| Cause of Flickering Lights | Solution |
|---|---|
| Loose wiring connections | Tighten connections, replace damaged wires |
| Wiring issues within the electrical circuit | Inspect and repair or replace the circuit |
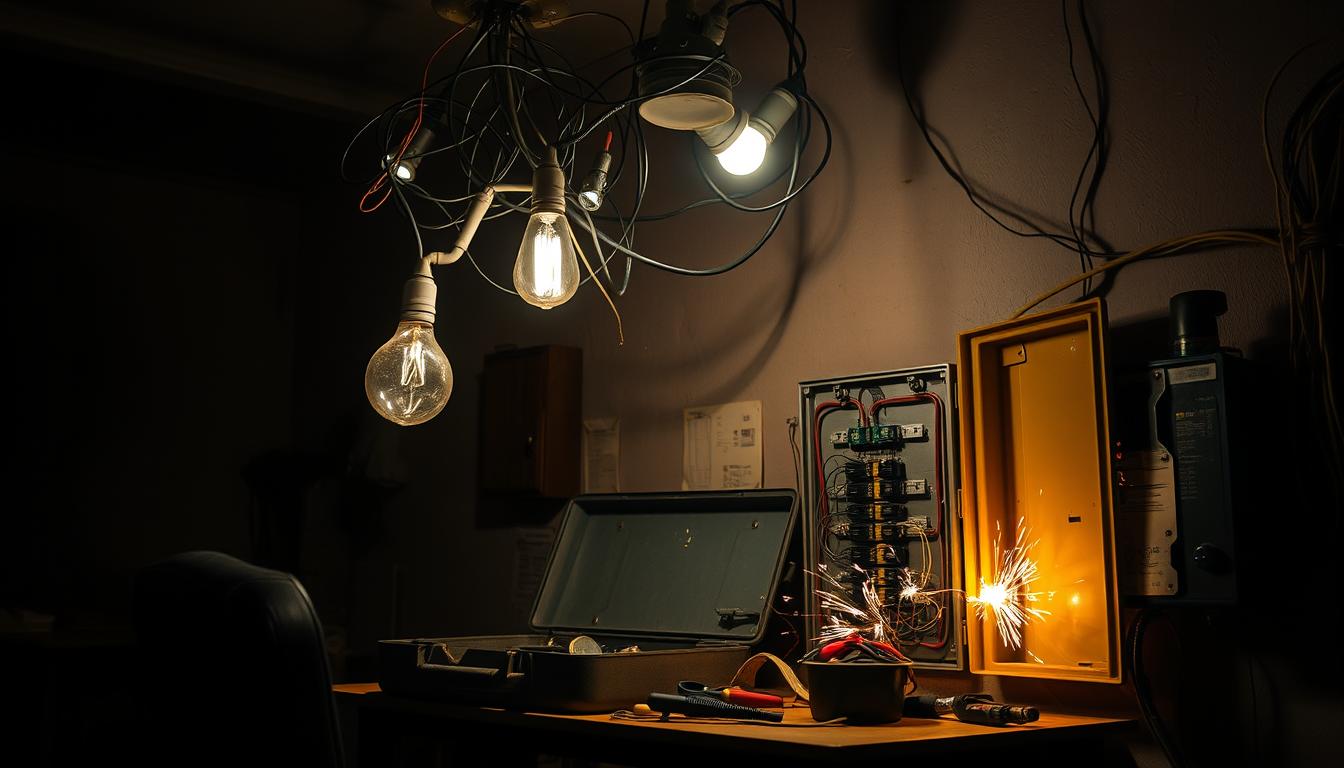
Circuit Breaker and Fuse-Related Problems
Understanding circuit breakers and fuses is key to avoiding electrical damage. A tripped breaker or blown fuse often signals a bigger problem. This could be overloaded circuits or faulty devices. It’s important to find and fix the root cause to avoid future problems.
Common reasons for frequent trips include overloaded circuits and faulty devices. Regular electrical checks can help. Also, ensuring your system is grounded can prevent shocks and fires.
Identifying Tripped Breakers
Finding tripped breakers is easy. Just look at your circuit breaker panel. If you see a tripped breaker, reset it. If it trips again, you might need a pro.
Reset Procedures
To reset a tripped breaker, follow these steps:
- Switch off all appliances and devices connected to the circuit
- Locate the tripped breaker and switch it to the “off” position
- Wait for 30 seconds to allow any residual power to dissipate
- Switch the breaker back to the “on” position
Common Causes of Frequent Trips
Frequent trips can stem from many sources. These include overloaded circuits and faulty devices. Regular maintenance checks can help. This ensures your system works safely and efficiently, which is vital for any repair.
Bulb-Related Issues and Solutions
Lighting problems often point to the bulb itself. Light flickering might mean a bulb is loose or bad. Circuit testing can find the real problem. Always use the right bulb type and wattage for each light.
Here are some tips for bulb issues:
- Choose energy-saving bulbs like LED or CFL to cut down on energy use and light flickering.
- Make sure the bulb’s wattage and voltage match the light fixture’s needs.
- Use a multimeter to check bulbs for any faults or defects.
By following these steps, you can fix bulb problems and avoid them in the future. Always be careful when working with electricity. If you’re not sure, get help from a pro.
It’s also key to dispose of old bulbs properly. This helps reduce waste and protects the environment. Being careful about these details keeps your lights safe, efficient, and working well.
Fixture Wiring Troubleshooting Steps
Lighting issues often point to wiring problems. Wiring issues can cause flickering lights or bulb problems. To fix these, follow a step-by-step guide.
Start by checking for loose connections. Look for signs of wear or damage on the wiring. Also, use a multimeter to test the wires for electrical issues.
Common Wiring Problems
- Short circuits: These occur when there is an unintended path of electricity between two or more wires.
- Open circuits: This is when there is a break in the wiring, preventing the flow of electricity.
Knowing these common wiring problems helps homeowners fix them. Regular checks for loose connections and wire tests keep the system working right.
Wiring issues can also lead to bulb problems. Faulty wiring can make bulbs malfunction or burn out early. Fixing these problems ensures your electrical system works safely and efficiently.
Dealing with Dimmer Switch Complications
Dimmer switches make controlling light levels easy and save energy. But, they can face electrical issues. It’s key to have good problem solving skills to handle these problems. A common issue is flickering or humming lights, often due to the wrong bulbs or bad installation.
To fix these problems, knowing the right bulbs for your dimmer switch is crucial. Here are some important points to remember:
- Check the bulb’s wattage and ensure it’s within the dimmer switch’s recommended range
- Verify that the bulb is designed for use with dimmer switches
- Consult the manufacturer’s instructions for guidance on compatible bulbs
Getting your dimmer switch installed and adjusted right is also important. By following the manufacturer’s guide and double-checking your work, you can avoid many problems. Good problem solving here means doing your homework, paying attention to details, and being ready to make adjustments.
Outdoor Lighting Challenges
Outdoor lighting faces many challenges, like weather problems, motion sensor issues, and timer failures. To tackle these, using weather-resistant fixtures is key. It’s also important to protect lights from extreme weather, moisture, and physical harm.
Weather-Related Issues
Weather can make lights flicker or stop working. Regular fixture repair and upkeep can stop these problems. Some weather issues include:
- Water damage from heavy rain or snow
- Extreme temperature changes
- Damage from strong winds or hail
Motion Sensor Problems
Motion sensors might not work right or trigger too often. Changing sensitivity or fixing broken parts can fix this. Make sure sensors are installed right and kept safe from the weather.
Timer Malfunctions
Timers can mess up, making lights go on or off wrong. Check the timer settings and make sure it fits your lighting system. Regular fixture repair and care can also stop timer problems.
| Common Outdoor Lighting Issues | Solutions |
|---|---|
| Weather-related issues | Use weather-resistant fixtures, regular maintenance |
| Motion sensor problems | Adjust sensitivity settings, replace faulty components |
| Timer malfunctions | Check timer settings, ensure compatibility |
LED-Specific Lighting Problems
LED lighting is popular for its energy savings and long life. Yet, it faces specific issues. One common problem is circuit testing challenges due to compatibility issues with dimmer switches or other devices.
Another issue is bulb problems like flickering or dimming. These can stem from low-quality LED bulbs or fixtures. It’s crucial to use top-notch LED bulbs and fixtures to avoid failures.
Compatibility Issues
LED bulbs might not work well with certain dimmer switches or devices. This can cause circuit testing problems. You might need extra hardware or software to fix these issues.
Common LED Failure Patterns
LEDs can flicker or dim due to various reasons. These include bulb problems or electrical circuit issues. To solve these, thorough circuit testing and checking the bulbs and fixtures for damage are key.
| LED Lighting Problem | Cause | Solution |
|---|---|---|
| Flickering or dimming | Poor quality LED bulbs or fixtures | Replace with high-quality LED bulbs or fixtures |
| Compatibility issues | Incompatible dimmer switches or devices | Use LED-compatible dimmer switches or devices |
| Circuit testing problems | Issues with the electrical circuit | Conduct thorough circuit testing and repair or replace the circuit as needed |
When and How to Test Your Home’s Electrical Circuit
Testing your home’s electrical circuit is key to keeping it safe and working well. Regular checks can spot wiring issues early. Use a multimeter to check voltage and current, finding any odd readings.
Fixing electrical problems needs a careful plan. You must find the real cause, not just the symptoms. This way, you avoid fires, save energy, and keep your home safe.
- Turn off the power to the circuit at the main electrical panel
- Use a multimeter to measure the voltage and current in the circuit
- Check for any irregularities or anomalies in the readings
- Take corrective action to address any issues found
Keeping your electrical system in check is vital. It stops wiring issues and keeps your home running smoothly. By solving problems early, you avoid big headaches later.
Conclusion: Making Informed Decisions About Lighting Repairs
By now, you know how to fix common electrical issues and fixture repair yourself. This guide has shown you how to tackle many lighting problems. Always remember, safety comes first when working with electricity.
If a problem seems too hard or risky, call a professional electrician. They can keep your home’s electrical system safe and working right. With the right tools and knowledge, you can fix many lighting issues yourself and save money.
This guide has given you the tools to make smart choices about your home’s lighting. Stay alert, work safely, and enjoy the feeling of a well-lit, energy-saving home.