Welcome to our comprehensive guide on building custom shelving. It’s a step-by-step resource designed to help you create practical and beautiful storage solutions for your home or office. Whether you’re a seasoned DIY enthusiast or a beginner, this guide will walk you through every stage. From planning and designing your DIY shelves to constructing and installing them, we focus on custom storage solutions.
We’ll explore how to maximize your space with DIY shelving and custom storage. Our goal is to equip you with the knowledge and skills to build custom shelving that meets your specific needs. We aim to help you create a functional and aesthetically pleasing shelving system that complements your home or office decor.
Introduction to Custom Shelving
In this guide, we’ll cover the basics of building custom shelving. This includes planning, designing, and constructing your DIY shelves. We’ll also share tips and tricks for achieving a professional-looking finish. Our focus remains on DIY shelving and custom storage solutions.
Key Takeaways
- Learn the basics of building custom shelving using DIY shelving techniques
- Discover how to plan and design your DIY shelves for maximum storage and aesthetic appeal, focusing on custom storage
- Get tips and tricks for constructing and installing your custom shelving, using DIY shelving and custom storage solutions
- Understand the importance of measuring and marking your space accurately for custom storage
- Learn how to choose the right materials and tools for your DIY shelving project, focusing on custom storage solutions
- Find out how to add a professional-looking finish to your custom shelving, using DIY shelving techniques and custom storage solutions
Essential Planning for Your DIY Shelving Project
Planning is crucial when building custom shelves. A well-thought-out shelf design can significantly enhance both functionality and aesthetics. Begin by accurately measuring your space. Consider the room’s dimensions, door and window locations, and the items you’ll store.
Understanding the weight your shelves must support is vital. This knowledge guides the choice of materials for your storage construction. It ensures your shelves can handle the weight of your items. Think about the items’ weight and how they’ll be arranged on the shelves.
Measuring Your Space Correctly
To measure accurately, start with precise room dimensions. Include width, length, and height of walls. Use a level to ensure your measurements are spot-on. Remember to account for any obstacles, like outlets or baseboards.
Understanding Weight Requirements
Knowing the weight your shelves must bear is essential for safety and stability. Consider the items’ weight and how they’ll be arranged. This will help you choose the right materials for your custom storage and ensure it can support your items.
Determining Shelf Purpose and Usage
Lastly, define the purpose and usage of each shelf. Think about the items you’ll store, how often you’ll access them, and the space needed for each. This approach will help you design a shelf design that’s both functional and efficient for your needs.
Choosing the Right Materials for Custom Shelves
When selecting wood shelving, the material’s type significantly influences the shelves’ appearance and longevity. Solid hardwoods like oak or maple offer a premium look. Yet, engineered wood provides a more affordable alternative. It’s crucial to pick materials that match your shelf building objectives and enhance the room’s decor.
Considerations for material selection include sustainability, cost, and workability. Reclaimed wood is ideal for those seeking an eco-conscious option. Metal or glass shelves, on the other hand, suit modern tastes.
- Wood (solid hardwoods, engineered wood, reclaimed wood)
- Metal (aluminum, steel, brass)
- Glass
- Composite materials (MDF, plywood)
The material choice hinges on your specific needs and preferences. Assessing durability, aesthetic value, and budget helps select the ideal material. This ensures your custom shelves are both beautiful and functional, fulfilling your wood shelving and shelf building aspirations.
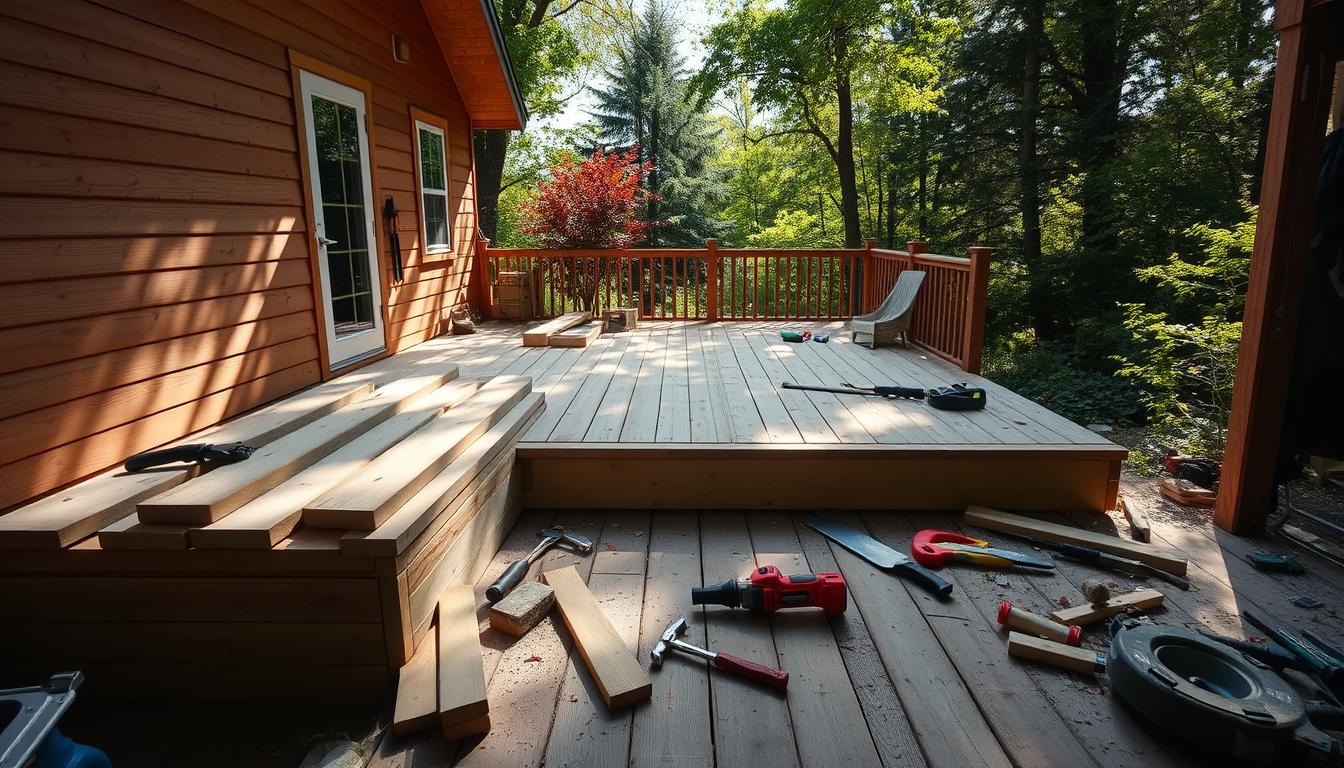
Must-Have Tools and Equipment
Building DIY shelves or working on storage construction requires the right tools and equipment. Quality tools may seem expensive upfront, but they ensure professional results and confidence for future projects.
A well-stocked toolbox is essential. It should include power tools like drills, saws, and sanders for cutting, assembling, and finishing. Hand tools, including hammers, tape measures, and clamps, are crucial for precision. Safety is paramount, so include gloves, safety glasses, and a dust mask.
Power Tools Essentials
- Drills for making precise holes
- Saws for cutting wood and other materials
- Sanders for smoothing out surfaces
Hand Tools You’ll Need
- Hammers for tapping and fitting parts together
- Tape measures for accurate measurements
- Clamps for holding pieces in place
Safety Equipment Checklist
Always wear protective gear, including gloves, safety glasses, and a dust mask. This ensures a safe working environment. With the right tools and equipment, you’ll create sturdy, functional DIY shelves or storage that will last for years.
Mastering Basic DIY Shelving Techniques
To excel in shelf building, grasping the basics is crucial. You need to know how to cut wood correctly, put the shelving units together, and secure them to the wall. With dedication and hard work, you can craft custom storage that fits your exact requirements.
Key techniques to hone include:
- Measuring and cutting wood accurately
- Assembling shelving units with precision
- Attaching shelves to the wall securely
Mastering these foundational skills will propel you towards creating durable, practical shelves. Remember, practice is key. Even if your initial attempts don’t succeed, keep trying. Over time, you’ll refine your skills, ready to tackle more intricate projects and design custom storage tailored to your needs.
Here’s a simple shelving unit you can build using these techniques:
| Material | Quantity |
|---|---|
| Wood | 4 pieces |
| Screws | 12 pieces |
| Wall anchors | 4 pieces |
By consistently applying these techniques, you’ll become adept at shelf building. You’ll be able to create custom storage that precisely meets your needs.
Types of Mounting Systems and Support Brackets
Choosing the right mounting system for wood shelving is crucial. It greatly impacts the look and function of your shelves. There are many mounting systems out there, each with its own benefits. It’s important to know your options to make the best choice for your project.
The type of mounting system you pick depends on your shelving and desired aesthetic. Floating shelf hardware is great for a clean, minimalist look, as it conceals the brackets. Traditional brackets, on the other hand, offer a timeless appeal and work well with wood shelving.
- Floating shelf hardware for a sleek, minimalist look
- Traditional bracket systems for a classic appearance
- Built-in support methods, such as dado joints or ledger boards, for added strength and stability
Knowing the various mounting systems and support brackets available helps you select the perfect fit for your wood shelving. This ensures your shelves are not only beautiful but also sturdy and secure.
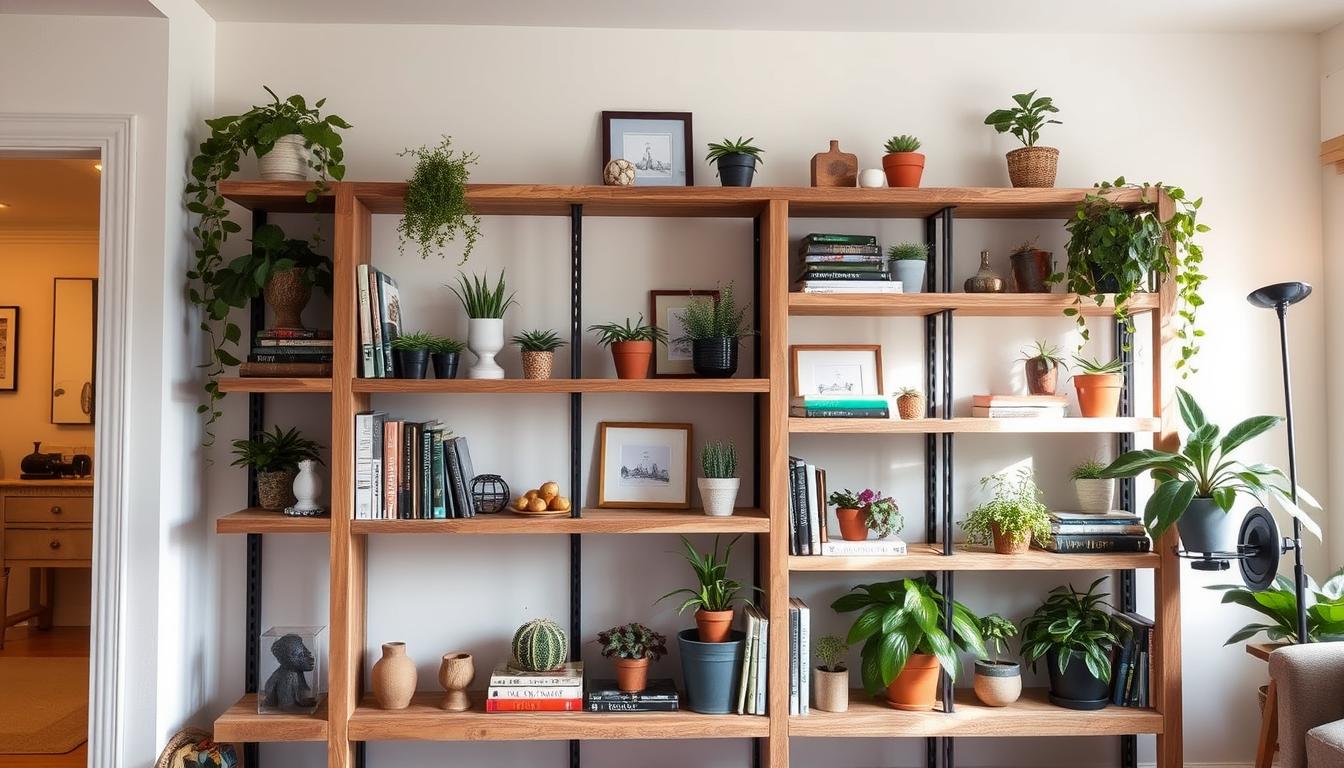
Design Ideas for Custom Storage Solutions
Custom storage solutions offer endless possibilities. Consider the room’s style, the items to store, and the desired shelf function. You might choose open shelving for decorative items, closed cabinets for clutter, or a mix for balance. Tailoring your shelving meets your needs, making the space functional and stylish.
A well-designed shelf design significantly impacts a room’s look and feel. It’s crucial to consider the room’s flow and how shelves interact with furniture and decor. For instance, custom storage can link different room areas. Selecting a shelf design that matches the room’s style creates a cohesive look.
Popular custom storage ideas include:
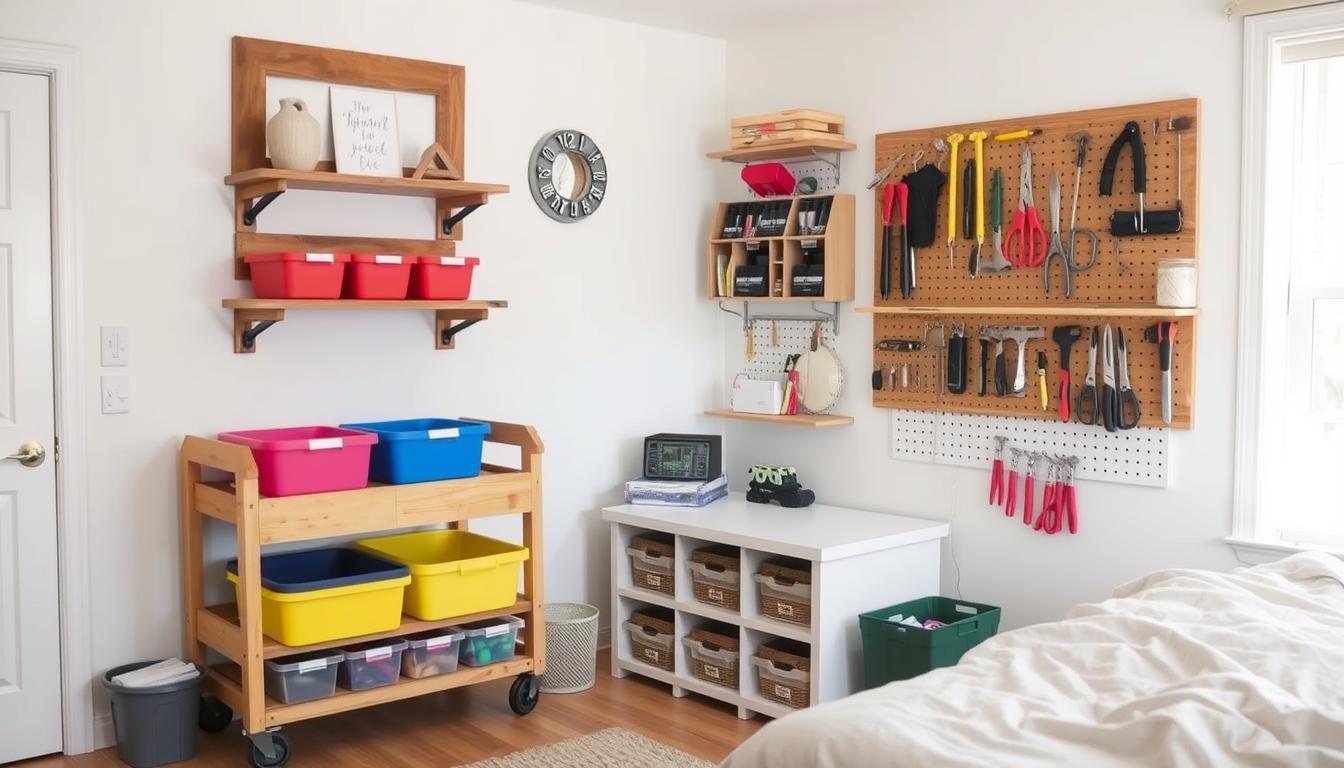
- Using baskets or bins for toys, linens, or cleaning supplies
- Installing shelves with drawers or cabinets for more storage
- Creating a pegboard system for hanging bikes, tools, or accessories
Incorporating these custom storage solutions into your shelf design makes your space functional and beautiful. Think about your needs and the room’s style when choosing a shelf design. Don’t hesitate to come up with unique custom storage ideas.
With creativity and planning, you can design a custom storage system that meets your needs and enhances your space. Whether you aim to maximize storage in a small room or add flair to your decor, custom storage solutions can help.
| Custom Storage Solution | Description |
|---|---|
| Open Shelving | Display decorative items and keep frequently used items within easy reach |
| Closed Cabinets | Hide clutter and store items that you don’t need immediate access to |
| Combination | Balance open and closed storage for a functional and visually appealing space |
Common Mistakes to Avoid When Building Shelves
DIY shelving projects can be rewarding, but they require attention to detail to avoid common pitfalls. Whether you’re an experienced DIYer or just starting, overlooking key details can lead to unstable or non-functional shelves. It’s crucial to know the potential issues that can arise to ensure your project’s success.
Common errors include structural issues like inadequate support or improper assembly, which can make shelves unsafe or unstable. Design pitfalls such as ignoring the room’s decor or the shelf’s purpose can result in unattractive or non-functional shelves. By planning carefully and executing your project with precision, you can sidestep these mistakes. This way, you’ll create a beautiful and practical storage solution that suits your needs.
Structural Issues
- Inadequate support for heavy loads
- Improper assembly of shelf components
- Insufficient anchoring to the wall
Design Pitfalls
- Failure to consider the room’s decor and style
- Neglecting to plan for the shelf’s purpose and usage
- Not leaving enough space for easy access and maintenance
By being aware of these common mistakes, you can take steps to prevent them. This ensures your DIY shelving project meets your expectations. With careful planning and attention to detail, you can create a storage solution that enhances your space’s look and functionality.
Finishing Touches and Wood Treatment Options
The finishing touches on wood shelving can truly transform a space. A well-crafted custom storage solution can enhance the room’s beauty and functionality. It’s crucial to explore the various wood treatment options available.
For a stunning wood shelving unit, consider the benefits of sanding, staining, and protective coatings. Sanding smooths the wood surface, preparing it for staining or painting. The choice between staining and painting depends on your desired look and the wood type.
Sanding Techniques
Sanding is a vital step in wood treatment. It removes imperfections, creating a smooth surface for staining or painting. Popular sanding methods include belt sanders and orbital sanders.
Staining vs. Painting
The choice between staining and painting for wood shelving depends on the desired aesthetic. Staining highlights the wood’s natural beauty, while painting offers a bold, vibrant color. Consider the wood type and desired look when deciding.
Protective Coatings
After staining or painting, applying a protective coating is essential. This can include polyurethane or wax. These coatings prevent wear and tear, ensuring your custom storage solution lasts for years.
Investing time in the finishing process yields a beautiful, functional wood shelving unit. With the right sanding, staining or painting, and protective coatings, your custom storage solution will be stunning and durable for years.
Advanced Tips for Professional-Looking Results
To achieve a professional look for your DIY shelves, consider adding decorative trim. This could include molding, trim, or other elements that bring elegance to your project. It’s a simple yet impactful way to elevate your DIY shelves.
Another advanced technique is using concealed fasteners. This method gives your shelves a clean, sleek look. It’s crucial for shelf design, making your DIY project seem more custom and high-end.
Here are some additional tips to keep in mind:
- Pay attention to the small details, such as ensuring all shelves are level and plumb.
- Apply the finish evenly to avoid any streaks or unevenness.
- Consider incorporating lighting into your shelf design to add an extra touch of sophistication.
By following these advanced tips, you can create DIY shelves that are both beautiful and functional. They will have a professional-looking result that exceeds your expectations.
| Tip | Description |
|---|---|
| Add decorative trim | Add molding, trim, or other decorative elements to your shelf design. |
| Use concealed fasteners | Use hidden fasteners to give your DIY shelves a clean and sleek appearance. |
| Incorporate lighting | Add lighting to your shelf design to add an extra touch of sophistication. |
Conclusion: Bringing Your Custom Shelving Project to Life
As you conclude your custom DIY shelving project, take pride in the wood shelving masterpiece you’ve crafted. Your dedication and meticulousness have transformed a simple space into a meticulously organized sanctuary, perfectly suited to your specific storage needs. The real triumph isn’t just the finished product but the sense of fulfillment and the skills you’ve honed during the process.
Your project showcases your creativity and problem-solving prowess, whether you’ve mastered floating shelf hardware, explored innovative support methods, or experimented with captivating designs. Revel in the pride of your creation, and consider embarking on your next DIY challenge. This will allow you to further enhance your home’s functionality and aesthetic appeal.
Embrace the journey, celebrate your achievements, and let your custom shelving be a constant reminder of your capabilities. The possibilities are limitless, with only your imagination as the boundary. Cherish your new storage solutions and continue to explore the realm of DIY home improvement. Your next creation is eagerly awaiting your touch.